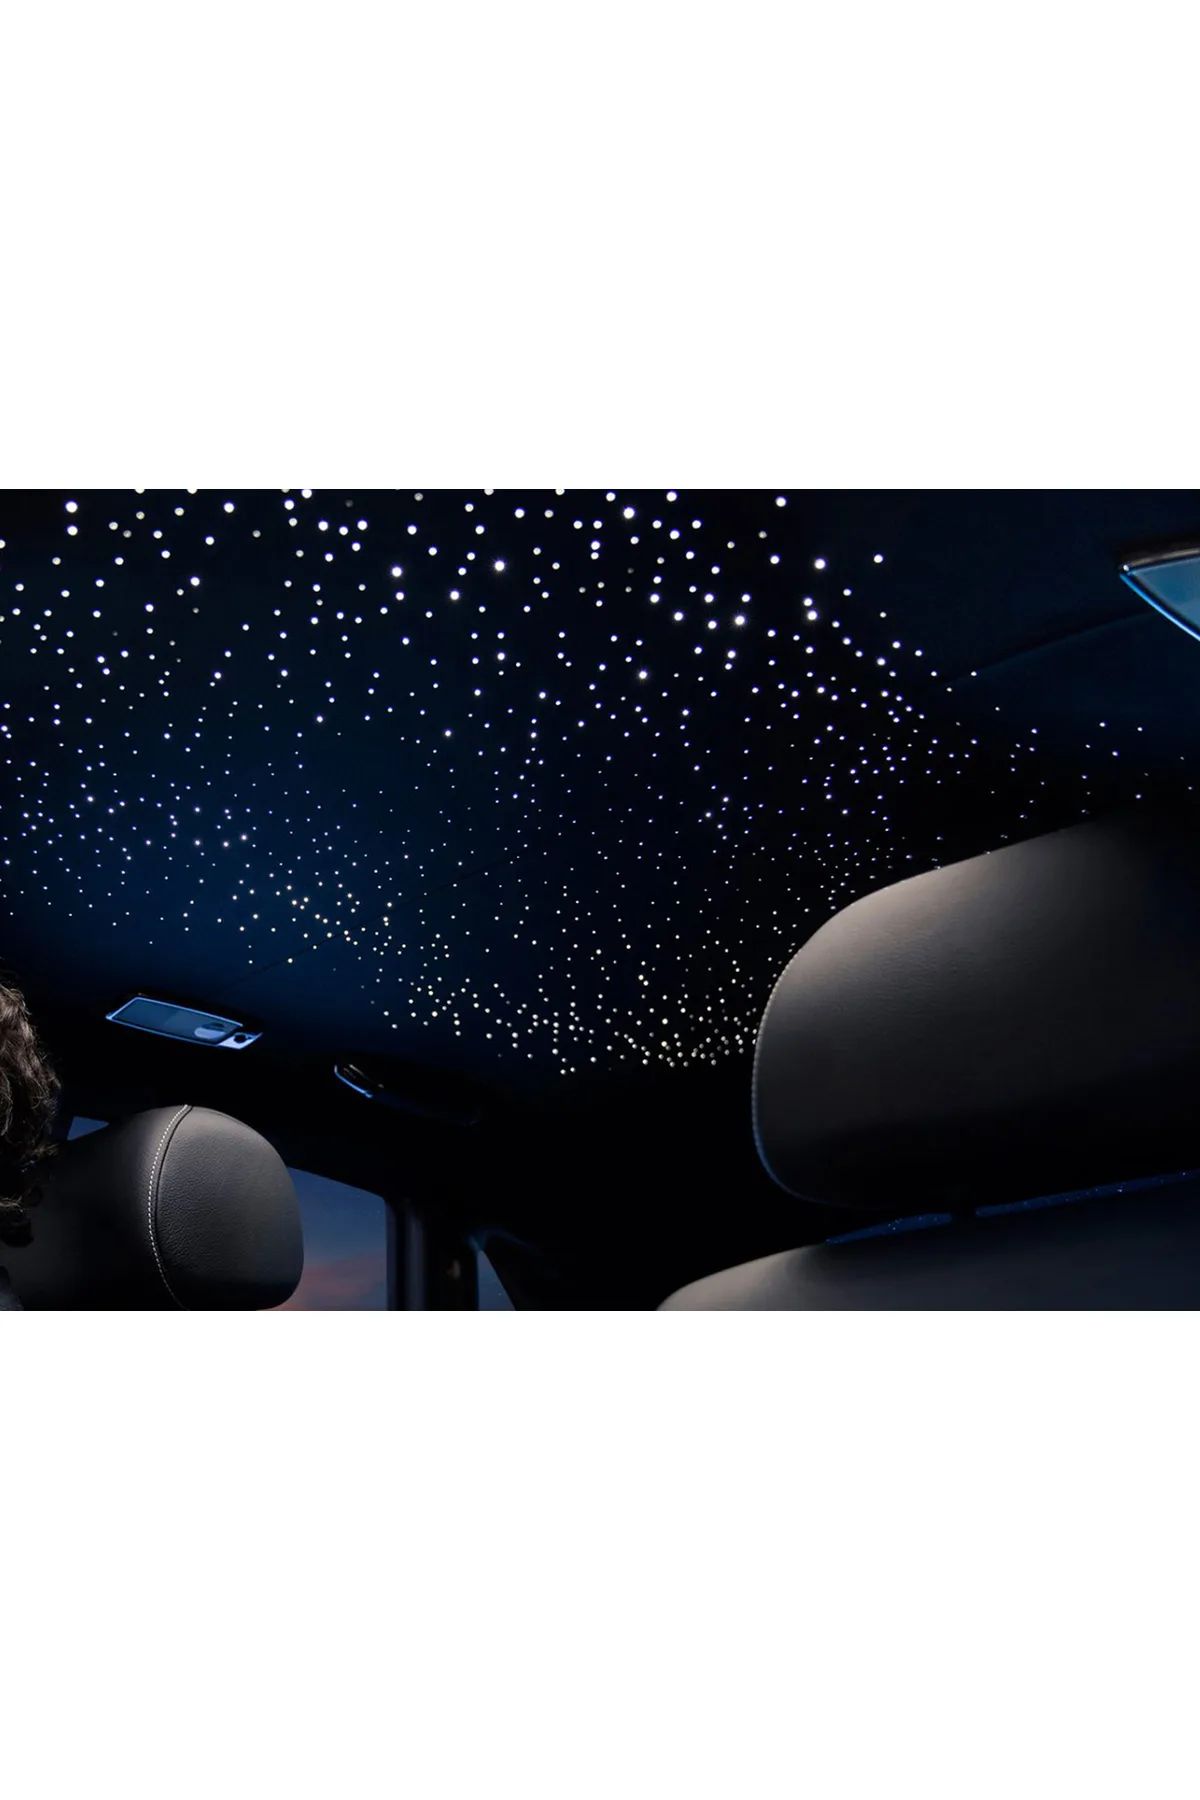
How is an automotive fiber optik star headliner kit installed? Well, the process essentially boils down to these 5 fundamental steps: safely removing the headliner, placing the fiber optik guides to form a star pattern, securing the fiber ends, reinstalling the headliner, and performing final checks. It may seem simple, but each step requires careful attention to detail.
Table of Contents

- How to Install an Automotive Fiber Optik Star Headliner Kit? 2026 Steps
- Essential Tools for Automotive Fiber Optik Star Headliner Kit Installation
- 2026 Technical Tips for Automotive Fiber Optik Star Headliner Kit Installation
- How to Make Electrical Connections for an Automotive Fiber Optik Star Headliner Kit?
- 2026 Automotive Fiber Optik Star Headliner Kit Trends and Personalization
- Frequently Asked Questions (FAQ)
This process requires patience and care. For example, rushing and breaking the headliner can derail the entire project. On the other hand, if you follow the correct steps, the result will truly amaze you. Therefore, installing an automotive fiber optik star headliner kit fundamentally consists of five critical stages.
How to Install an Automotive Fiber Optik Star Headliner Kit? 2026 Steps

Removing the headliner is perhaps the most critical point of the job. A wrong move can lead to irreversible damage.
Step 1: Safe Removal of the Headliner and Preparation
First, disconnect the vehicle's battery. Then, carefully remove the door seals, handles, and lighting units. Furthermore, experts recommend using special trim removal tools and placing the removed headliner on a clean, flat surface. Indeed, if you get this step right, the rest will follow smoothly.
Step 2: Fiber Optik Guide Placement and Designing the Star Pattern
This is your moment to get creative! Place the fiber optik guides according to the star pattern (like the Milky Way or Big Dipper) you previously sketched with a pencil. For example, these guides, which are 0.75mm or 1.0mm thick, will be hidden under the headliner. Particularly, kits like 'NOVA Pro' make your job much easier. So, I really like this model.
Step 3: Securing the Fiber Ends and Testing Phase
Use a UV or hot glue gun to secure the fiber ends. Additionally, attach each fiber under the headliner. Then, connect the projector and test the light transmission. However, experienced installers warn: do not secure the fibers too tightly, or they may loosen. In short, this test is essential for a stunning result.
Step 4: Reinstalling the Headliner
If the test is successful, it's time to reinstall the headliner. Also, during this stage, ensure the fiber cables are not pinched. In short, use cable ties to bundle excess cables and route them through hidden channels. Because aesthetics and safety go hand in hand. Once the headliner snaps back into place, you'll feel a sense of relief.
Step 5: Final Checks and Ambiance Settings
Don't forget to perform final checks. Verify all electrical connections again. Confirm the system works flawlessly in different lighting modes. Also, if you have a smart control app, configure your personalized settings here. As a result, this is the point where you start to reap the rewards of your effort.
What tools are needed to install an automotive fiber optik star headliner kit? The basic list is as follows: a fiber optik trim removal tool set, various screwdrivers (Torx, Phillips), cable ties and channels, a measuring tape, a marker pen, a UV/hot glue gun, and a sharp craft knife or fiber optik cutter. Also, don't start without these.
Essential Tools for Automotive Fiber Optik Star Headliner Kit Installation

They say the right tools are half the job. The same goes for this project. Using the wrong screwdriver can scratch the headliner in an instant. Therefore, do not start the job without preparing the basic list below.
Basic Hand Tools List
- Fiber Optik Trim Removal Tool Set (metal ones can damage the interior)
- Various Screwdrivers (Torx, Phillips, Flathead)
- Cable Ties and Channels
- Measuring Tape and Marker Pen
- UV or Hot Glue Gun (for securing fiber ends)
- Sharp Craft Knife or Fiber Optik Cutter
Special Kits and Adapters That Simplify Installation
Comprehensive 2026 kits like 'Starlight Pro Max' include not just fibers and LEDs, but also vehicle-specific adapters, cable routes, and a smart control module. Moreover, market research shows these kits can reduce installation time by up to 50% for first-timers. It's a golden investment.
Buying Guide: Choosing the Right Automotive Fiber Optik Star Headliner Kit
Four criteria should be considered for choosing the right kit: 1) The number of fibers suitable for your vehicle's headliner width (small sedan: 160-200, large SUV: 300-500 fibers), 2) The power and color options of the LED projector (fixed white or RGB+W), 3) The control type (physical switch, remote control, or smart app), 4) The vehicle adapters and accessories included in the kit. Frankly, focus on these four, and the rest will fall into place.
2026 Technical Tips for Automotive Fiber Optik Star Headliner Kit Installation

What technical tips should be applied when installing an automotive fiber optik star headliner kit? Professional installers recommend routing cables through existing vehicle channels, grading light intensity by adjusting fiber length, and maintaining the system by regularly cleaning it with a dry brush.
Cable Routing and the Art of Concealment
Over a decade of experience has shown me that the fine details separating professional from amateur work are hidden here. Therefore, here are a few tricks they won't teach you in school.
Methods for Adjusting Light Intensity and Distribution
Cable concealment is key to preventing interior friction and squeaks. Therefore, the main fiber bundle and power cables should be routed through the factory wiring channels under the side headliner trim or in the upper corners of the windshield. Cables should be secured with ties, tight but not constricting. This is essential for driving with peace of mind.
Maintenance Tips: Extending the Lifespan of Your Star Headliner System
For a realistic sky effect, not all stars should have the same brightness. Light intensity can be adjusted by pushing some fiber ends slightly deeper into the headliner or by using projectors with adjustable brightness like 'Galaxy Beam'. The light distribution must be checked during the testing phase before the fibers are cut.
"An automotive star headliner is not just light; it's a composition. The power of the light source, fiber thickness, and end-processing method determine the soul of the final image. In 2026, customers no longer want just bright dots, but also faint nebula effects and color transitions." - Interior Lighting Expert, CoraxAds Technical Consultant
To extend the system's lifespan, three basic maintenance rules should be followed: 1) Avoid harsh chemicals and abrasive cloths when cleaning the headliner, 2) Periodically clean fiber ends of dust with a dry, soft brush, 3) If the system won't be used for a long time, disconnect the battery to prevent power consumption. Simple but effective.
How to Make Electrical Connections for an Automotive Fiber Optik Star Headliner Kit?

How do you make the electrical connections for an automotive fiber optik star headliner kit? For a safe electrical connection, the 12V LED projector should be connected via a switched line taken from the vehicle's fuse box, using an "Add-a-Circuit" adapter and a fuse suitable for the system's power (typically 2A-5A). In summary, connections should be made with solder or quality crimp connectors.
Safe Integration with the 12V Vehicle Electrical System
Safety comes first. In summary, an incorrect electrical connection can lead from annoying fuse blows to serious electrical faults. However, once you understand the basic principles, this procedure is quite simple.
Source: tr.wikipedia.org
Fuse and Overcurrent Protection Installation
12V integration is the process of connecting the LED driver to the vehicle's electrical system without causing damage. The safest method is to use a "switched" (operates when the ignition is on) line from the fuse box with a fuse tap (Add-a-Circuit) adapter. Solder or crimp connectors should be preferred over electrical tape at connection points.
2026 Automotive Fiber Optik Star Headliner Kit Trends and Personalization
Overcurrent protection is mandatory for system and vehicle safety. An automotive fuse, suitable for the current draw of the system (typically 2A or 5A), should be added as close as possible to the positive (+) input of the LED driver. This rule is a universal safety standard that also applies to fiber optik ceiling installation in commercial spaces.
Vehicle Personalization and Star Headliner as a Tool for Individual Expression
What are the 2026 trends for automotive fiber optik star headliner kits? 2026 trends are towards personalized constellation patterns, RGB+W color transitions controllable via smartphone app or vehicle screen, and animated effects like meteor showers. The market has seen a 34% growth in demand for these personalization products in 2026.
Future Technologies: Smart Control and Animations
A car is no longer just about getting from point A to point B. Especially in 2026, the concept of the in-vehicle living space has solidified. From this perspective, vehicle personalization has become not a luxury, but a standard part of individual expression.
Market Growth Statistics and Resources
The star headliner has become a significant part of vehicle personalization in 2026. Users now demand constellation patterns representing their birthday sky or special memories. This trend also complements in-vehicle entertainment systems in enhancing the cinema experience with a fiber optik star headliner.
Frequently Asked Questions (FAQ) About Automotive Fiber Optik Star Headliner Kit Installation
1. Can I do this installation myself, or is professional help necessary?
Answer: Individuals with basic hand tool skills and patience can complete this installation in 4-8 hours with a detailed guide. However, for luxury or complex vehicle models, or for those inexperienced with electrical work, professional support is recommended for safety and time savings. From what we've observed over the years, the number of DIYers is not small at all.
2. Is the star headliner kit compatible with every car? Does SUV vs sedan matter?
Answer: Yes, in principle, it is compatible with all vehicles. SUV, sedan, hatchback, or coupe—it doesn't matter. The only difference is that wider SUV headliners may require a higher fiber count (300-500 pieces) and a more powerful projector. The elegance everyone deserves is possible in every vehicle.
3. Will this process void my vehicle's warranty?
Answer: Modifications to the original electrical system that cause a malfunction can void the warranty for the relevant part. The risk can be minimized by using a switched line from the fuse box and an appropriate fuse. The safest route is to consult an authorized service center. Fortunately, most dealerships now look more favorably on this type of personalization.
4. Is maintaining or repairing the star headliner difficult? What should I do if a fiber breaks?
Answer: Maintenance is easy; use a dry, soft brush for dust. If a single fiber breaks, usually the entire set does not need to be replaced. The issue can be resolved by re-cutting and re-gluing the broken fiber's end at the projector or by using spare fibers from the kit. So, no panic!
5. Which colors and effects are most popular in 2026? What are the trends?
Answer: 2026 trends include, alongside classic white and warm white, fixed lights in calming purple/turquoise tones, smart-controlled RGB color transitions, and dynamic animation effects like meteor showers. As you may have noticed, everything is personalized now.
Comparative Feature Table of Popular Kits
| Kit Model | Fiber Count (pcs) | LED Projector Power | Control Option | Average Installation Time | Standout Feature |
|---|---|---|---|---|---|
| NOVA Pro | 200 | 10W - Fixed White | Physical On/Off | 5-6 Hours | Complete Starter Kit |
| Starlight Pro Max | 300-500 | 15W - RGB+W | Smartphone App | 6-8 Hours | Animation Effects & Vehicle Adapters |
| Galaxy Beam Elite | 160 | 8W - Adjustable Brightness | Remote Control | 4-5 Hours | High Lumen & Realistic Star Effect |
You have learned the answer to how an automotive fiber optik star headliner kit is installed step-by-step with this comprehensive guide. Yes, it requires technical knowledge, the right tools, and plenty of patience. But believe me, when you're finished, your vehicle's interior will gain a magical atmosphere, and you'll feel all your effort was worth it. Planning is the most important step; don't skip it. A wrong cut or connection can give you a headache. If you feel ready, choose a quality kit and get to work!
We can't wait to see the unique ambiance you create after completing your project! Don't hesitate to contact us to share your experience or get more technical support. Take action now and transform your vehicle's headliner into a night sky that belongs only to you!