Table of Contents
- How to Apply Fiber Optic to a Minibus Headliner? Basic Principle and Materials Required in 2026
- How to Apply Fiber Optic to a Minibus Headliner? Before: Preparation and Planning Process
- Step-by-Step Installation: How to Apply Fiber Optic to a Minibus Headliner?
- Applying Fiber Optic to a Minibus Headliner Post-Installation Testing and Troubleshooting (2026 Checklist)
- Applying Fiber Optic to a Minibus Headliner and Culture: Transforming the Travel Experience in 2026
- Frequently Asked Questions About Applying Fiber Optic to a Minibus Headliner (2026 FAQ)
The question how to apply fiber optic to a minibus headliner is on the lips of anyone looking to customize their vehicle. Consider this: just last week, a client with a family minibus they've used for years complained that their kids were bored to tears on trips. "There's no sky on the roads at night, and the ceiling is pitch black," they said. So, I immediately suggested this idea and explained the process. Two weeks later, seeing a photo of the kids asleep under their own 'mini sky' made it all worthwhile. This experience proves once again that every vehicle is a customizable home. So, aren't you dreaming of turning your minibus ceiling into a magical starry sky too?
In this guide, I will explain step-by-step how to apply fiber optic to a minibus headliner using the freshest methods of 2026.
Actually, the core of the job is simpler than you think. However, this is more than just a hobby project; it's a real installation that requires planning and meticulousness. Fortunately, today, with flexible fiber optic cables that withstand vehicle vibrations and energy-efficient LED sources, anyone can achieve professional results. With over a decade of field experience, I will share all the tips, necessary materials, and installation flow in this guide.
How to Apply Fiber Optic to a Minibus Headliner? Basic Principle and Materials Required in 2026
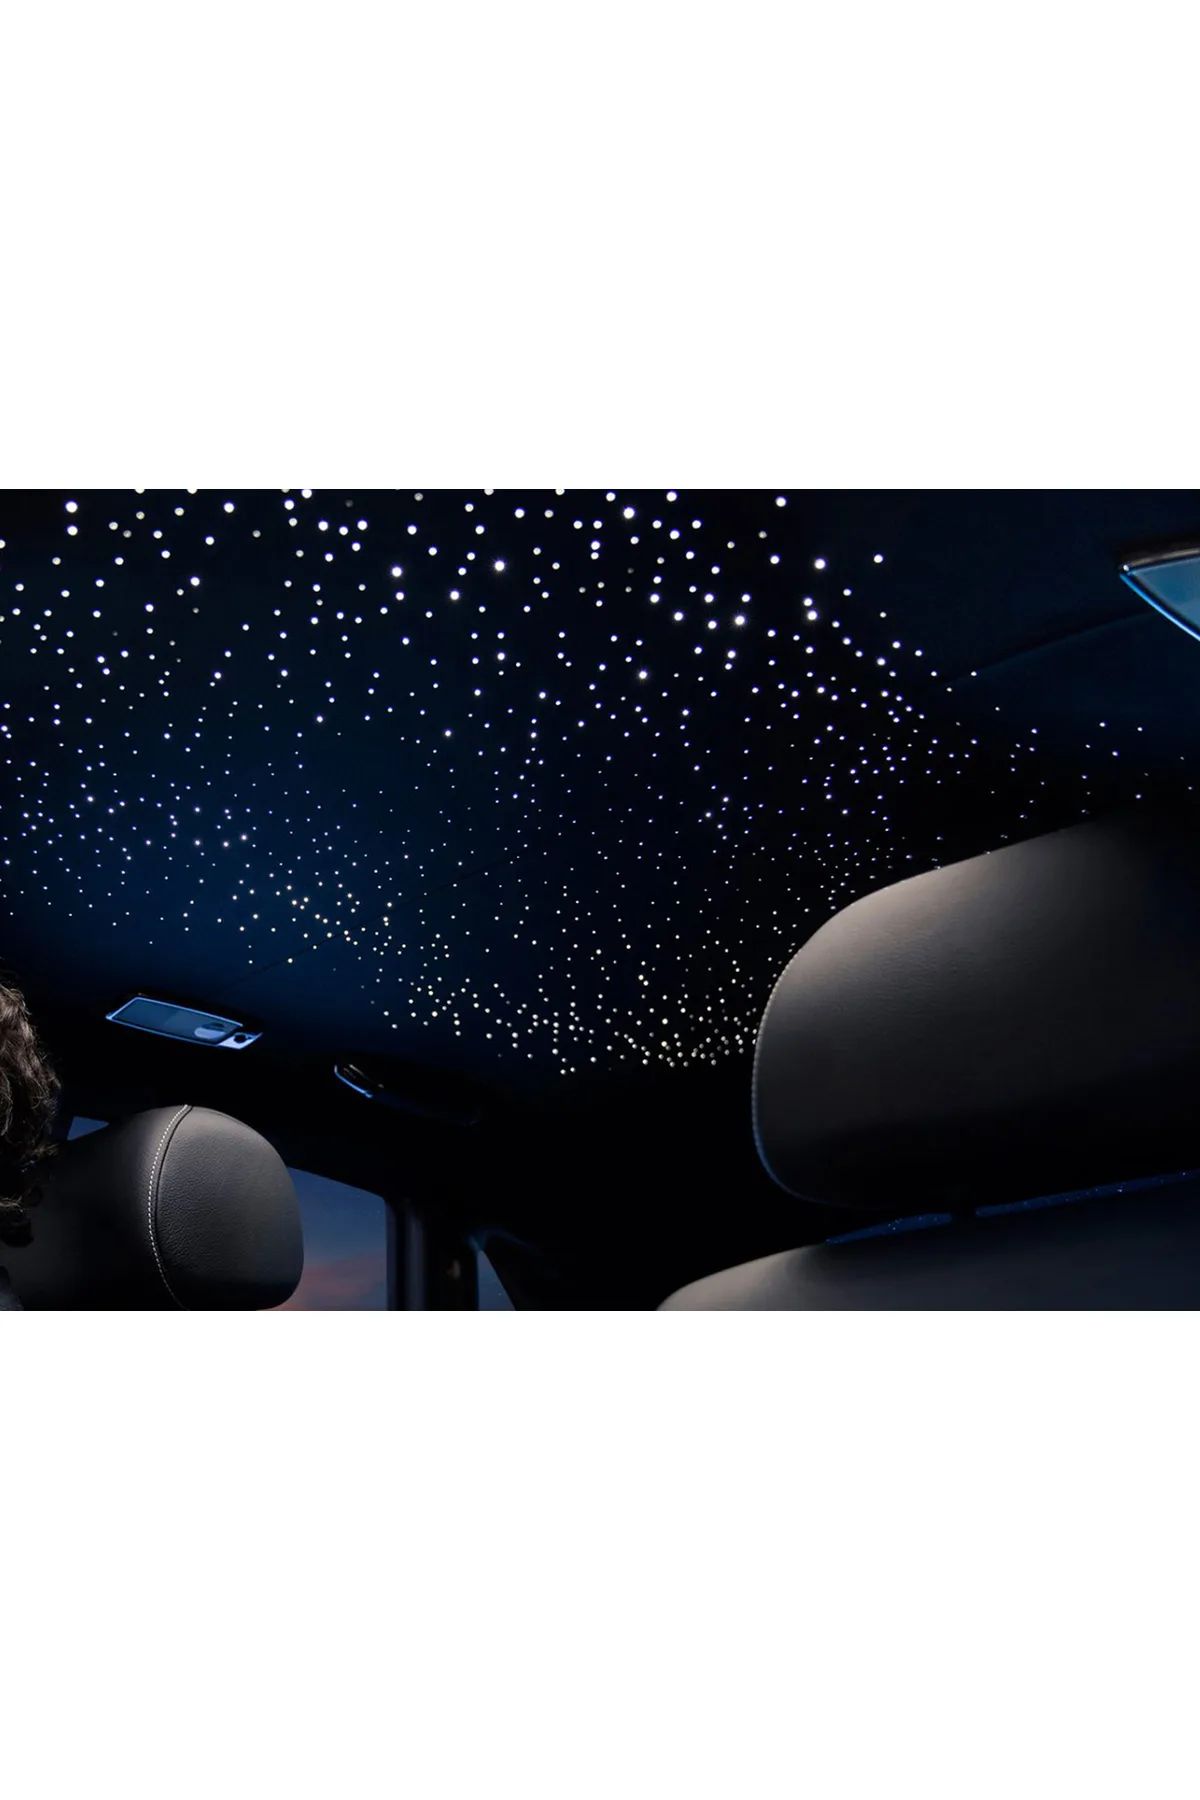
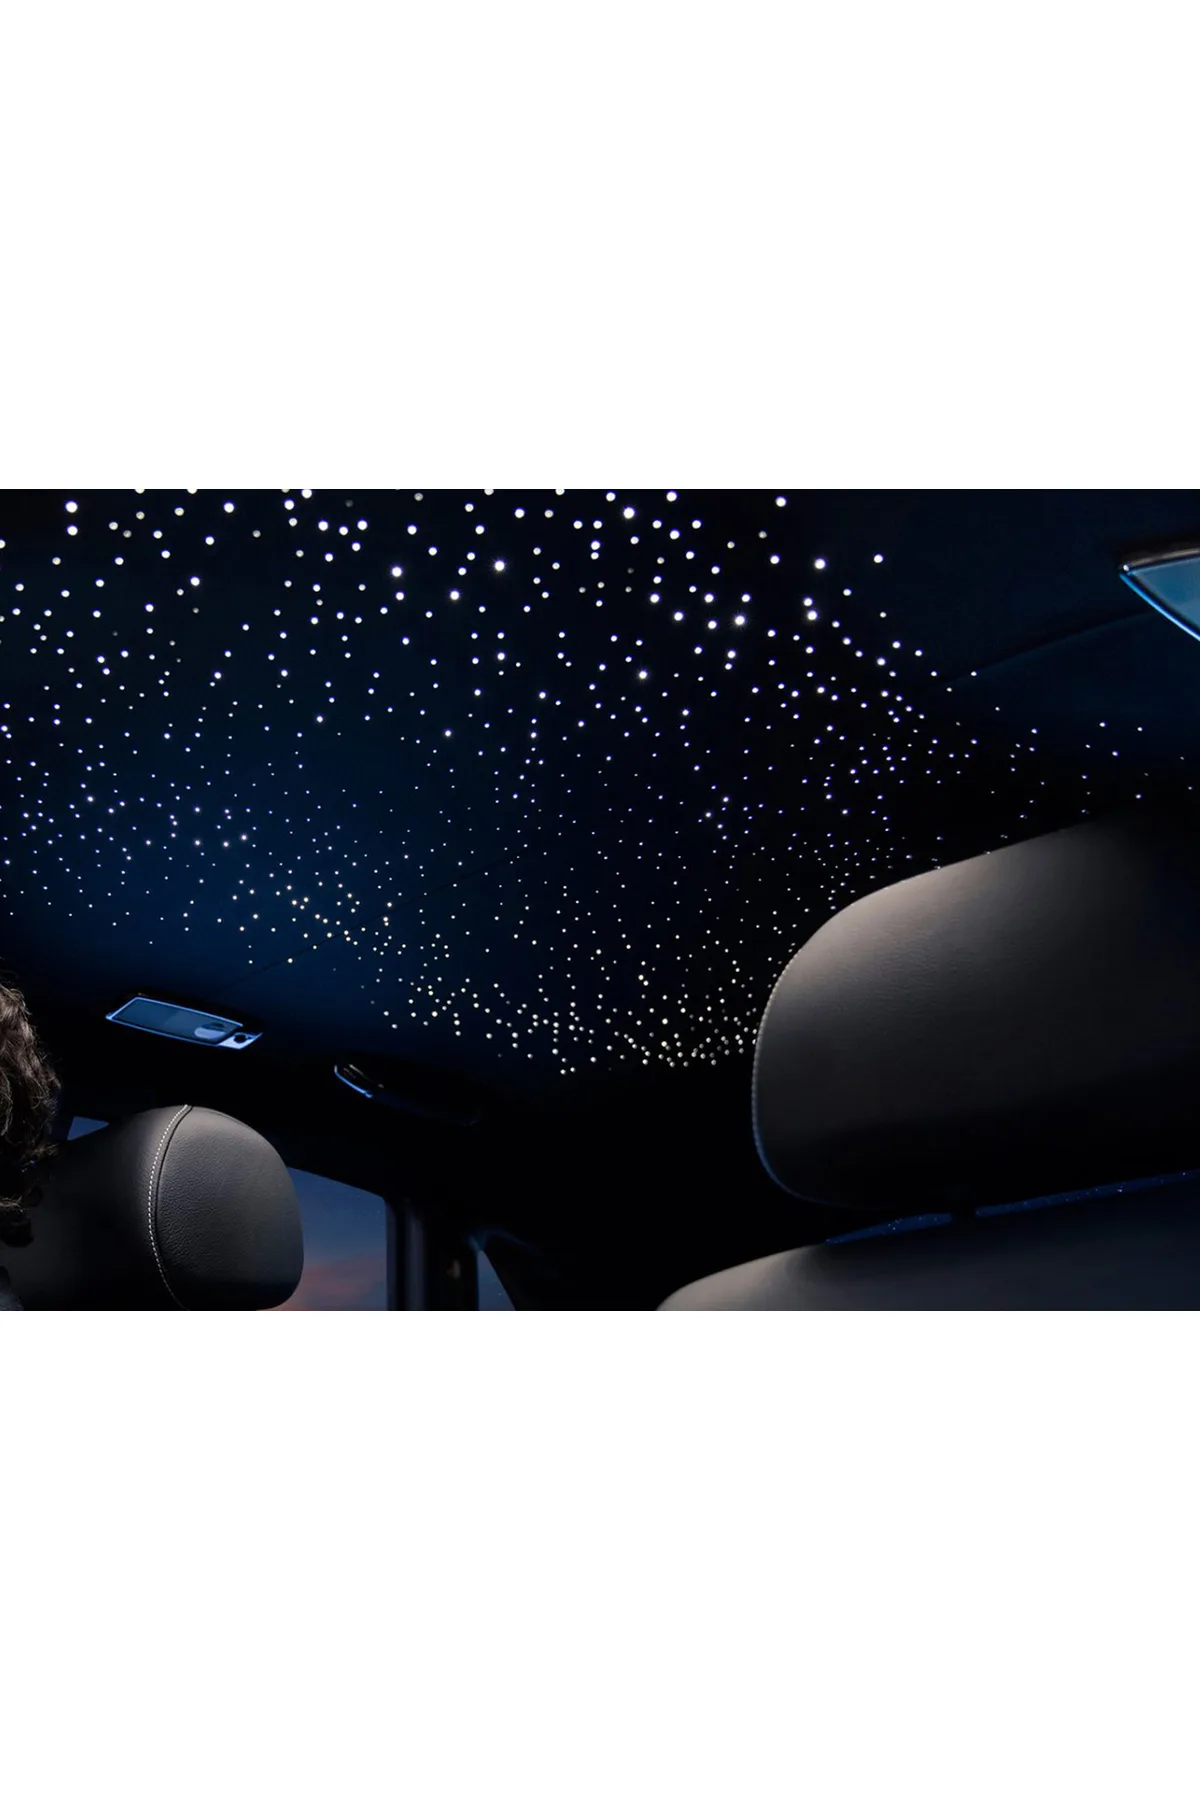
The first task is to choose a flexible and durable fiber set suitable for your vehicle. Then, you must thoroughly analyze the ceiling structure, skillfully route the cables under the lining, and safely connect the light source to the 12V vehicle system. In fact, 2026 technology offers specially coated cables that absorb vibration and LEDs that aren't energy hogs. However, choosing the right materials is half the battle. Otherwise, a randomly purchased set could leave you stranded at the first pothole. For example, 2026 market research shows that demand for such personalizations in commercial and family minibuses has surged by approximately 22% in the last two years. This increase has brought higher quality and vehicle-specific products.
Choosing the Right Type of Fiber Optic for Your Minibus
The most preferred fiber type in minibuses is PMMA (acrylic) core, due to its flexibility and affordable price. But when choosing, you should consider not only the material but also the diameter and coating. Diameters of 0.75mm or 1.0mm are ideal for concealing within the headliner and providing sufficient light. In summary, in 2026, many manufacturers have launched "vehicle-grade" cables with special flexible and abrasion-resistant outer coatings (LSZH - Low Smoke Zero Halogen).
"The most decisive factor in a fiber optic application for a minibus headliner is the cable's resistance to vibration and temperature changes. An economical cable can break quickly under road conditions, disrupting light transmission. In short, invest your money in long-lasting products designed for vehicles." - Expert Technical Consultant, CoraxAds Lighting
12V Vehicle System-Compatible Light Source and Driver
Since your minibus's electrical system is 12V DC, household 220V AC sources won't work. You need a specially manufactured LED light source (illuminator) and its driver that operate on 12V DC. The ends of the fiber optic cables are bundled and connected to this unit's output. In 2026 models, features like color changing (RGB), shooting star effects, and even control via Bluetooth phone apps have become standard. Energy efficiency is also golden; a good unit on the market can provide up to 70% energy savings compared to a classic dome light.
For instance, for applying fiber optic to a minibus headliner, sets specially developed like the "VIP YILDIZ TAVAN FİBER OPTİK STARLIGHT MİNİBÜS KAYAN YILDIZLI SET - EKO", which stands out with its included vibration-damping clips and waterproof connections, should be your first choice for installation ease and long-term reliability.
How to Apply Fiber Optic to a Minibus Headliner? Before: Preparation and Planning Process
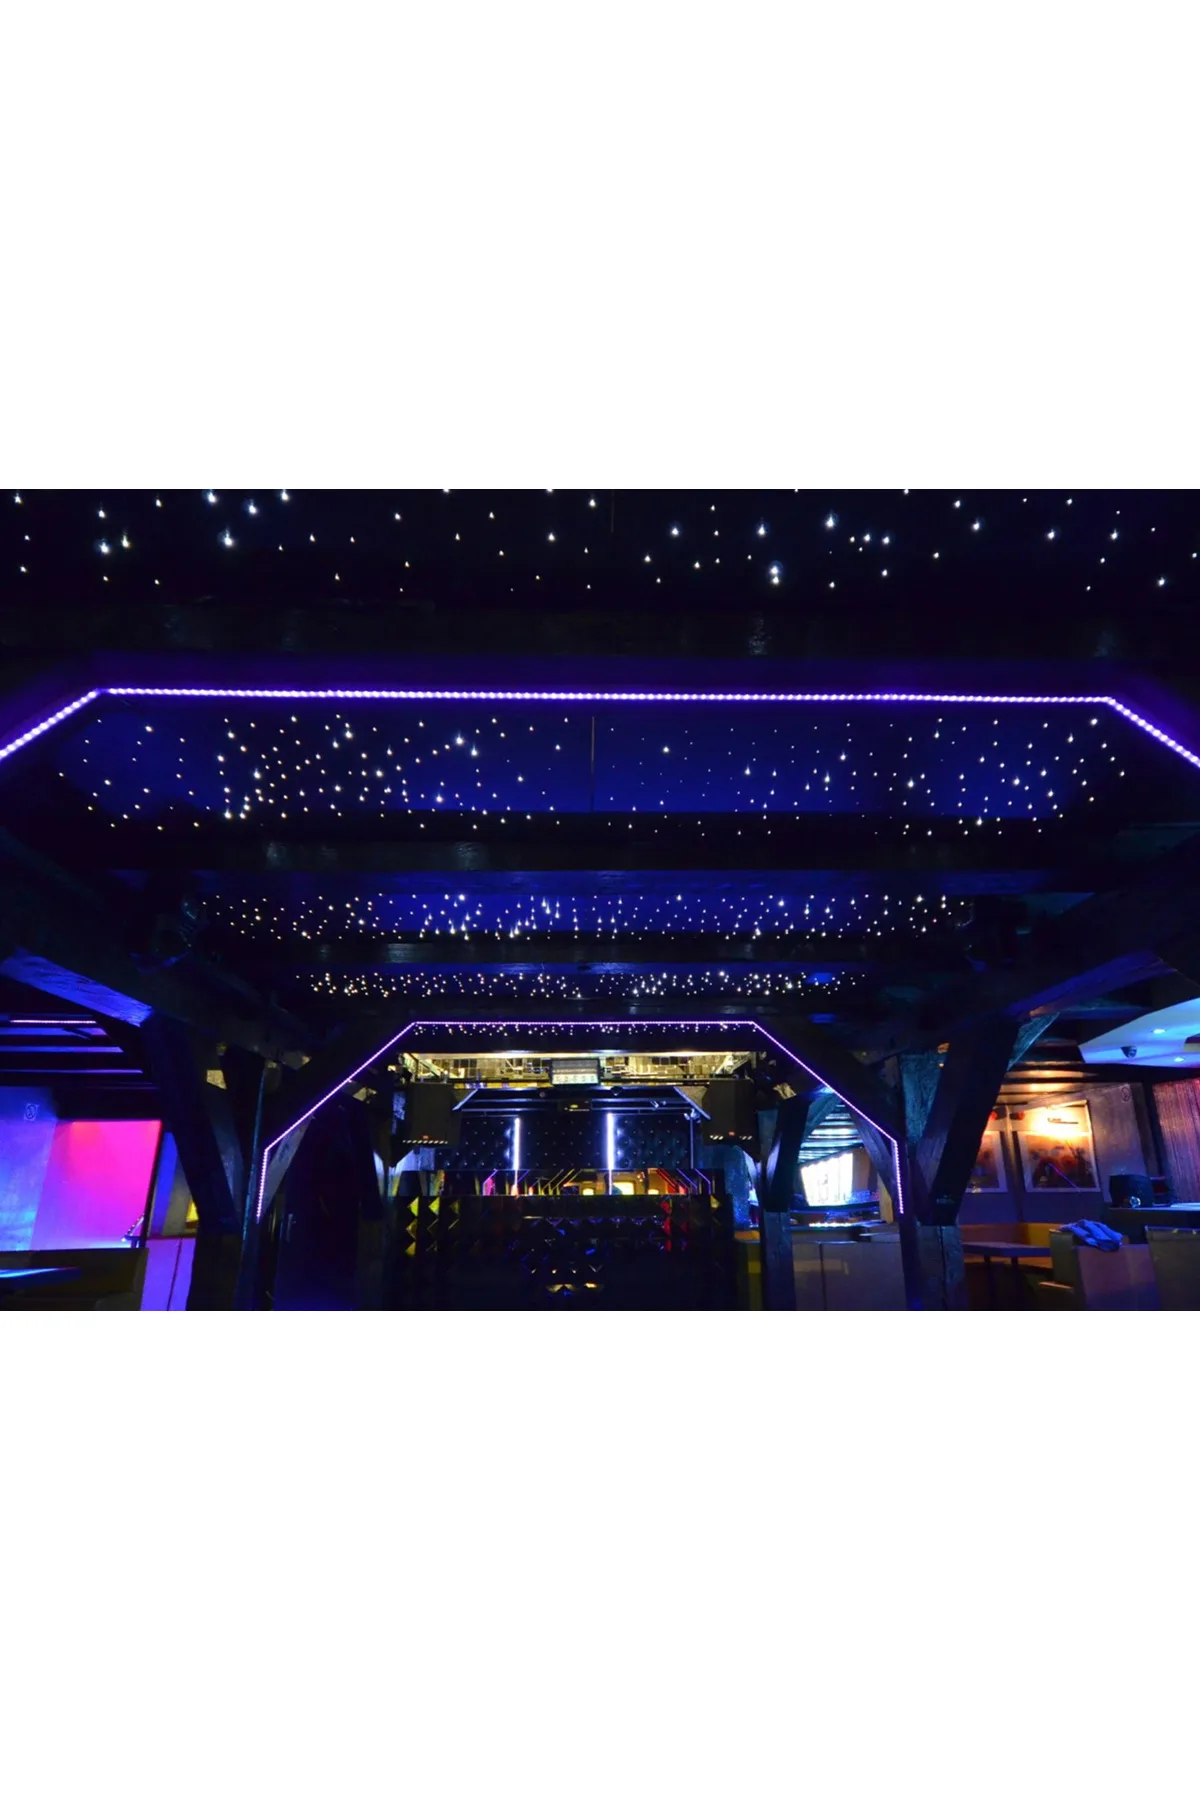
With materials ready, it's time for one of the most crucial stages: preparation and planning. Frankly, many people make mistakes here, and they are quite difficult to fix. This section covers removing your headliner without damage and designing how the fibers will be placed.
Removing the Headliner and Surface Cleaning
A minibus headliner is usually made of fabric, synthetic leather, or felt and is either glued or clipped to the frame. To remove it, first carefully take out accessories like the dome light and handles. Then, using a suitable removal tool, gently separate the liner from the frame. Be careful not to stretch or tear the liner during this process. Furthermore, clean the back surface of the removed liner and the metal ceiling structure with an alcohol-based cleaner to remove dust and grease. A perfectly clean surface ensures the adhesion or sewing is permanent.
Creating the Light Pattern and Fiber Layout Plan
Now for the fun part: designing your star map. Lay the liner flat on the ground and lightly mark the fiber entry point (usually a corner of the ceiling or a point near the trunk) with an erasable pen. Decide how you want to distribute the fibers:
- Natural Scatter: A random starry sky effect.
- Constellation: Creating shapes of known constellations (e.g., Ursa Major). Wikipedia's constellation page can be your inspiration.
- Shooting Star Effect: For this effect, fibers must be aligned in a specific direction and a special light source is required.
While planning, think about the route the fibers will take under the liner and the branches splitting from the main trunk. Remember, the cleaner the cable management, the easier it will be to reinstall the headliner.
Step-by-Step Installation: How to Apply Fiber Optic to a Minibus Headliner?
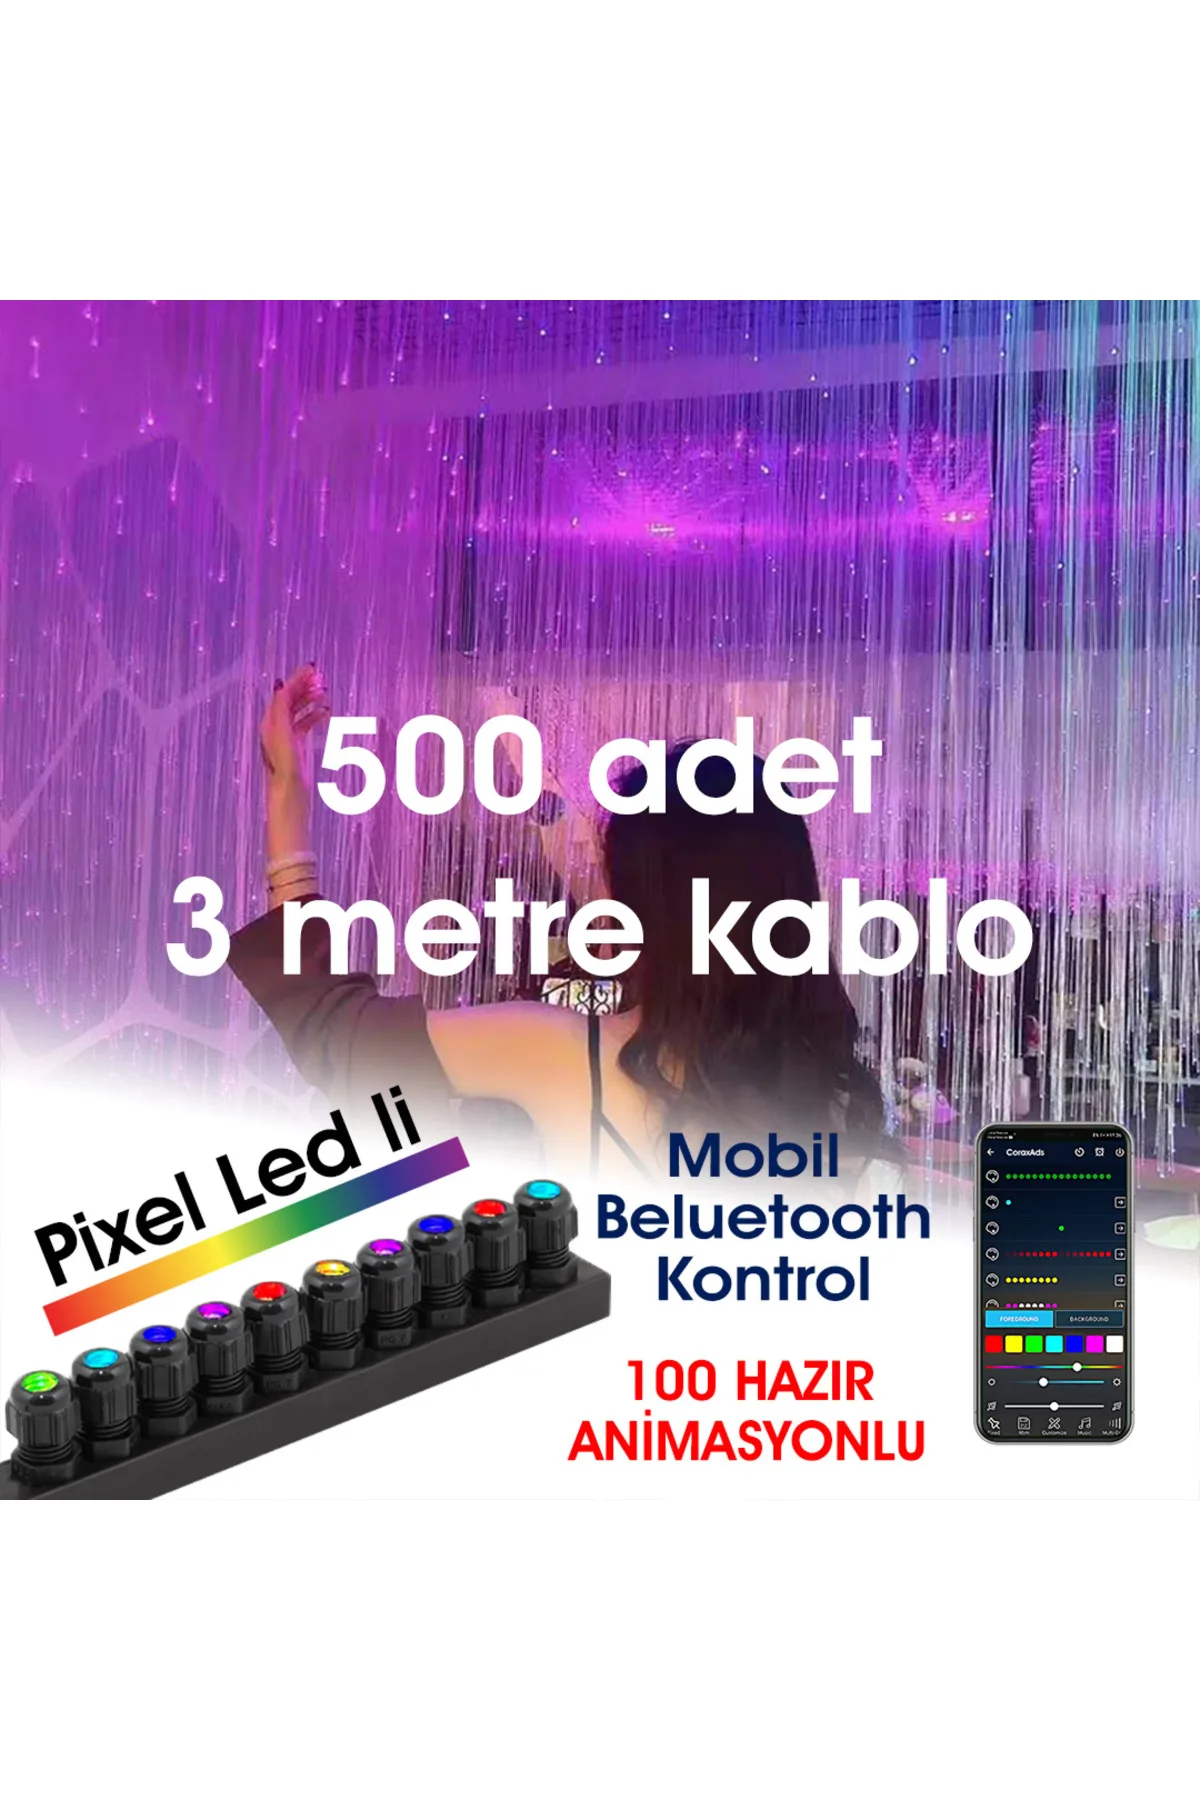
The plan is ready. Now it's time to place the fibers inside the liner and mount the rest of the system. This section is the heart of the job. Being careful and patient here will give you a big advantage.
Fiber Fixing Techniques: Sewing, Gluing, and Concealing
There are several ways to secure fiber optic cables under the headliner. The most robust and professional method is sewing with a thin needle and nylon thread. Guide the fiber along your planned route and lightly stitch it to the lower layer of the liner at regular intervals (every 10-15 cm). This method absolutely prevents movement from vibration. Alternatively, you can use automotive-grade double-sided tape or liquid adhesive, but there's a risk of losing adhesion with temperature changes.
The light-emitting end of the fiber must exit to the top surface of the liner. Use a thin sewing pin or a special punching tool to create micro holes and pull the fiber ends through these holes. You can leave the end protruding or cut and sand it slightly before pushing it back in. This process varies depending on the ceiling fabric. The hole-making techniques in our guide How to Install a Car Fiber Optic Star Ceiling Set? can also give you ideas for this stage.
Mounting the Light Source and Control Unit
After integrating all fibers into the liner and gathering their ends at one point, it's time to connect the light source. After cutting and neatly sanding the ends of the fiber bundle, place them into the optical input of the light source and secure them tightly with the clamping mechanism.
You can mount the light source unit and driver in the trunk, spare tire compartment, or under a seat. When choosing a location, ensure it is ventilated (to prevent overheating) and protected from water/moisture. Connect the power cable (red +12V, black ground) to the vehicle battery or an ACC (accessory power) point in the fuse box. Always use a fuse appropriate for the vehicle's amperage. For technical details on this, you can check our article How to Apply Fiber Optic in Caravan Ceiling Lighting?.
For minibuses subject to heavy use, like commercial tourism vehicles, consider a specially vibration-tested set. A set like "OTOBÜS AMBİYANS AYDINLATMA FİBER OPTİK YILDIZ TAVAN SETİ - KAYAN YILDIZLI - EKO PRO" will offer long life and trouble-free use.
| Model / Feature | VIP YILDIZ TAVAN STARLIGHT MİNİBÜS SETİ | OTOBÜS AMBİYANS AYDINLATMA SETİ | RESTORAN, KAFE AMBİYANS AYDINLATMA KİTİ |
|---|---|---|---|
| Suitable Vehicle Type | Family, VIP Minibus | Tourism, Service, School Minibus | Small Minibus, Panel Van |
| Fiber Coating Type | Flexible Silicone | LSZH Vibration Damping | Standard PVC |
| Light Source Features | RGB + Shooting Star, Remote Control | White/Warm White, High Current Tolerance | RGB, Bluetooth App Control |
| Estimated Installation Time | 4-5 Hours | 5-6 Hours (More Robust Connections) | 3-4 Hours |
| 2026 Market Assessment | Best Visual Impact | Highest Durability | Best Technology Integration |
Applying Fiber Optic to a Minibus Headliner Post-Installation Testing and Troubleshooting (2026 Checklist)
After mounting everything and reinstalling the headliner, you might be eager to turn on the lights immediately. However, performing a systematic test first is very important to spot potential issues early.
Initial Startup and Light Test
Turn on the vehicle's ignition and start your fiber optic system. Follow these steps:
- Full Point Check: Check if light is coming from all star points. Doing this in a dark environment is better.
- Color and Effect Test: If available, test all color transitions and the shooting star effect.
- Vibration Test: Start the vehicle or rev the engine slightly to create vibration. Observe if there is any flickering or interruption in the light.
- Heat Check: After running the light source unit for 15-20 minutes, check it by hand. If it's excessively hot, ventilation might be insufficient.
Common Problems and Practical Solutions
Some problems you might encounter during the initial test and their solutions:
- No Light from Some Points: This is usually because that fiber isn't fully seated in the light source or is overly bent inside the liner, blocking light transmission. Ensure the fiber is seated properly by gently pulling it.
- Entire System Not Working: Check power connections and the fuse. Use a multimeter to test for voltage at the +12V and ground connections.
- Noise from the Driver: This is often due to a low-quality driver or overload. You may need to replace the driver.
Applying Fiber Optic to a Minibus Headliner and Culture: Transforming the Travel Experience in 2026
In Turkey, a minibus is not just a means of transport; it's also a mobile space that strengthens family bonds and fosters commercial relationships. In this regard, improving the interior atmosphere adds immeasurable value to the travel experience.
Personalization from Family Minibuses to Tourism Vehicles
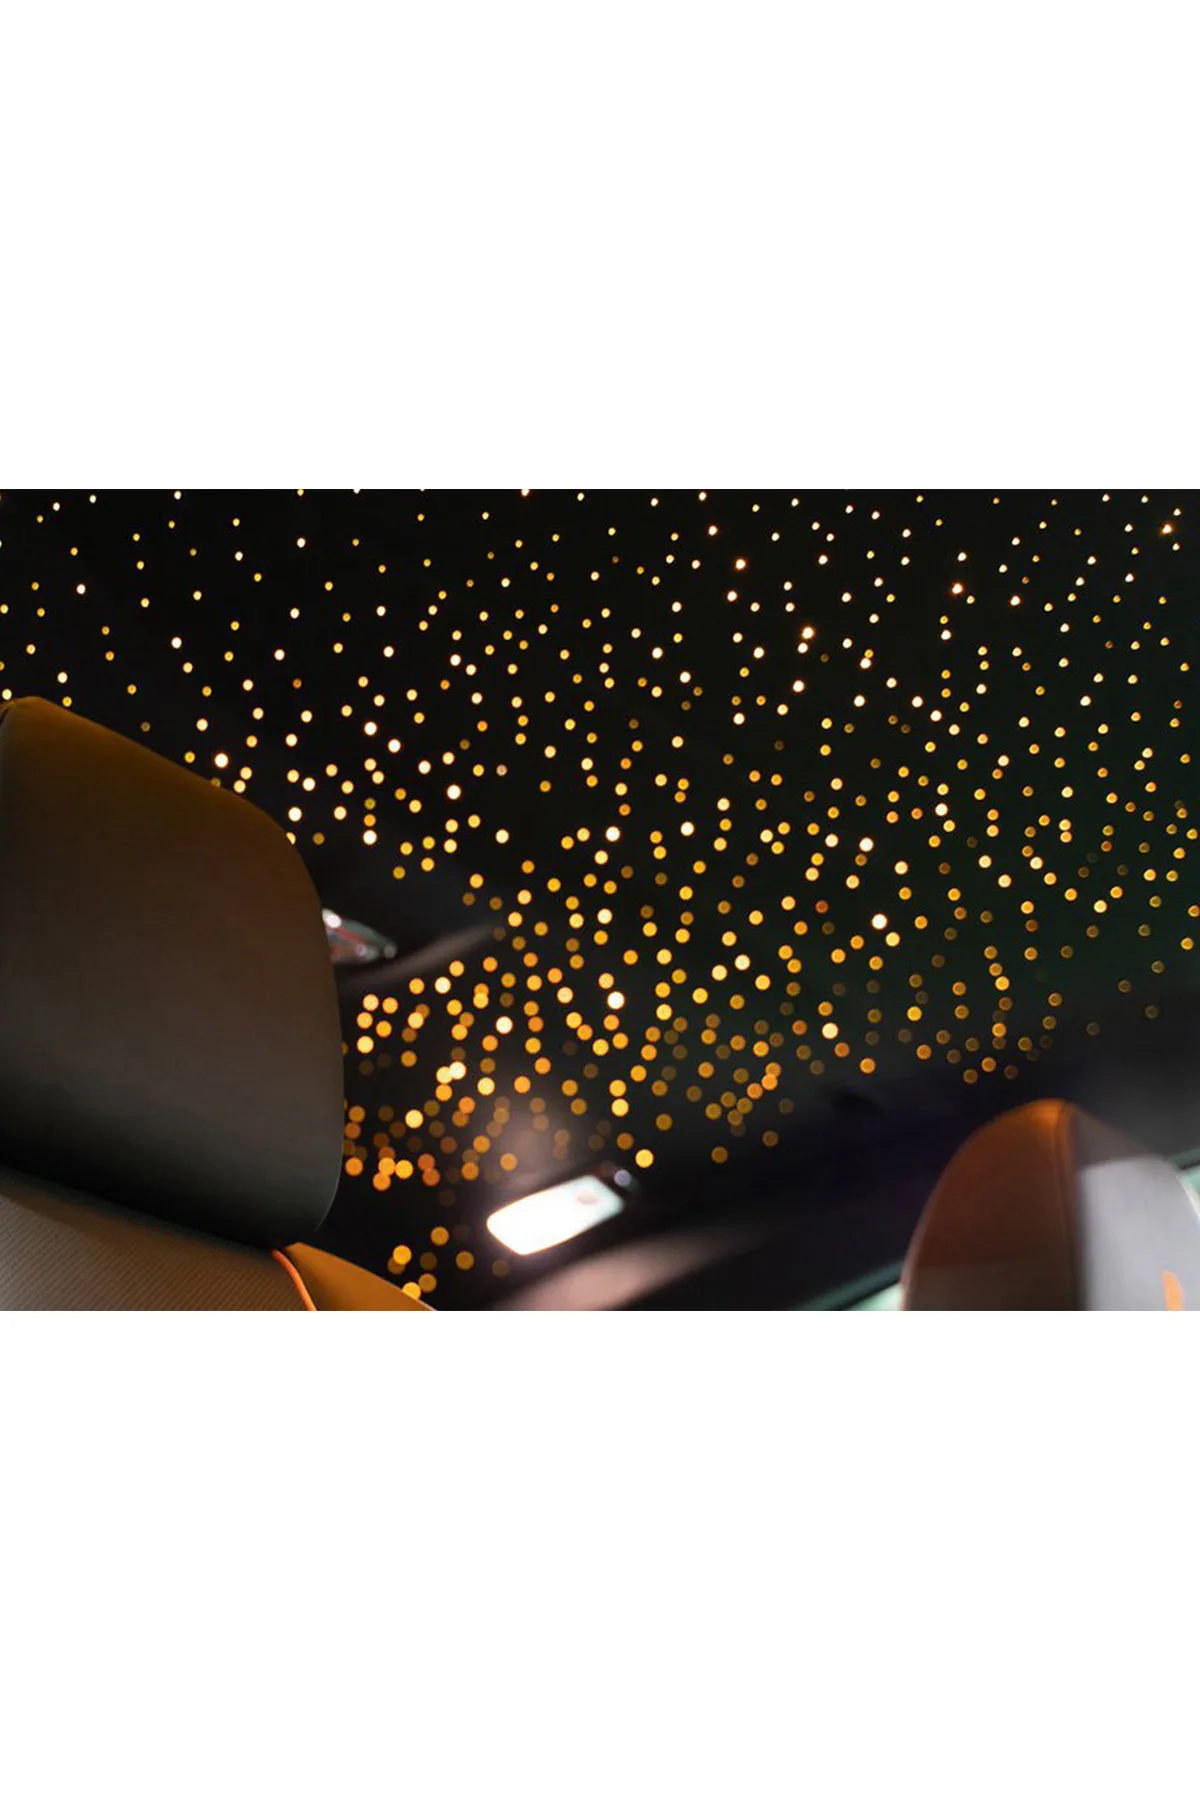
In family minibuses, a star ceiling created with soft white or warm yellow light has a calming effect on children and makes long journeys enjoyable. The situation is different in tourism minibuses. Here, the goal is to offer a luxurious and memorable experience. Color-changing RGB systems and shooting star effects win passenger approval and become a marketing advantage for the vehicle operator. In fact, applying fiber optic to a minibus headliner is an emotional investment as much as an aesthetic one.
Legal Compliance and Safety Recommendations
When doing this application, you must not ignore road traffic regulations. The general rule is not to use lights that are bright enough to affect the driver's field of vision or are distracting and flashing. Fiber optic star ceiling lights are generally decorative and dim, so they don't pose a problem. However, be careful not to mount the light source unit in a spot that directly disturbs the driver. You can find these details in our article Is In-Vehicle Star Ceiling Lighting Legal?. To explore our collection on how to apply fiber optic to a minibus headliner and catch the best offers, visit https://CoraxAds.com now.