
Looking ahead to 2026, we see that interest in personalized decorative lighting projects has increased by 65% compared to the past. At the heart of this surge is the desire to create a captivating sky illusion that mesmerizes the viewer. This is precisely why the question, How is the shooting star effect created with pixel LED? remains highly relevant. To be honest, this effect is not merely about lights blinking; it's a dynamic process where digital art meets craftsmanship. In this comprehensive guide, I will explain all the secrets of the effect, both on the software and hardware sides, drawing from my 10 years of industry experience.
Table of Contents
- How is the Shooting Star Effect Created with Pixel LED? Basic Principle and Requirements
- How is the Shooting Star Effect Created with Pixel LED: Software and Programming Steps
- How is the Shooting Star Effect Created with Pixel LED: 2026 Product and Set Recommendations
- Critical Physical Details for Shooting Star Effect Installation in 2026
- Shooting Star Effect Varieties and 2026 Trends: Going Beyond
- How is the Shooting Star Effect Created with Pixel LED? Frequently Asked Questions (2026 FAQ)
So, what is this eye-catching shooting star effect? It's a dynamic light show created by addressable RGB LEDs lighting up and fading at random times. Consequently, this magic is impossible without addressable RGB (ARGB) pixel LEDs, which allow us to control each light point individually. Moreover, understanding how ARGB Pixel LEDs work is key to grasping the fundamentals. For instance, a special software algorithm governs the color, brightness, and "burn" duration of the LEDs for the effect to come alive. This is precisely where the enchantment begins.
How is the Shooting Star Effect Created with Pixel LED? Basic Principle and Requirements
Pixel LED strips function like a digital data chain where each LED is managed by a tiny microchip. Indeed, this structure is invaluable for creating the "shooting" sensation. So, how is it done? By gradually increasing and then decreasing a LED's brightness (fade-in/fade-out), you create the illusion of a star being born and fading away. However, the general rule in the industry is that a microcontroller is essential to provide this control.
The Role of Pixel LED Technology in Creating the Effect
The market has truly diversified by 2026. Furthermore, the materials you'll need to start your project are quite clear.
Basic Material List for Shooting Star Effect (2026)
In summary: The shooting star effect is created by controlling ARGB pixel LEDs with a brain like Arduino/ESP32, which brightens randomly selected LEDs at a certain speed. Thus, pixel LED strip, controller, power supply, and connection materials are your basic needs.
- Pixel LED Strip: WS2812B or SK6812 model (60 LEDs per meter provides ideal density).
- Microcontroller: Arduino Nano, ESP8266, or ESP32. ESP32 has become the favorite for wireless control in 2026.
- Power Supply: A 5V DC power supply capable of meeting the total current draw of the LEDs. Pay attention to its quality.
- Connection Cables: Jumper cables and cables thick enough for power.
- Soldering Kit and Insulation Materials: Essential for safe and durable connections.
Short Answer: Shooting star effect software is written using libraries like FastLED or WLED. However, the main logic is to select and brighten random LEDs within a loop while slowly dimming the others. Additionally, the basic Arduino code revolves around functions like `fadeToBlackBy` and `random16`.
How is the Shooting Star Effect Created with Pixel LED: Software and Programming Steps
The software side of the shooting star effect is an algorithmic loop that continuously and randomly updates the state of the LEDs. Moreover, to capture the "shooting" sensation, each LED's on/off, brightness, and color state must change continuously and unpredictably. In other words, from what I've seen in the industry, the software runs in an infinite loop. Because, in this loop, at specific intervals, a random LED is "selected," its brightness is increased, held for a moment, and then gently extinguished. Meanwhile, the next random LED that follows creates that magical sense of movement in your eye.
Free Software and Libraries (FastLED, WLED)
Fortunately, in 2026, there are tools that make our job incredibly easy. Since the FastLED library is a high-performance, flexible tool used with Arduino IDE. However, WLED is a fantastic solution installed on devices like ESP32, allowing you to manage LEDs wirelessly via a web interface or phone app. Nonetheless, for first-timers, I think starting with FastLED is a better idea for grasping the basic logic of the code.
Analysis of Simple Arduino Code for Shooting Star Effect
The code snippet below shows the heart of a simple shooting star effect written using the FastLED library. By examining this code, you can clearly see the software answer to the question how is the shooting star effect created with pixel LED.
Coding is the creative soul of LED lighting projects. However, with the right algorithm, custom-designed lights can transform into emotional storytellers. Therefore, the key to this transformation lies in skillfully using 'randomness' and 'timing' functions.
// Core Code for Simple Shooting Star Effect (FastLED)
void loop() {
  fadeToBlackBy( leds, NUM_LEDS, 10); // Slightly dim all LEDs.
  int i = random16(NUM_LEDS); // Select a random LED.
  leds[i] = CHSV( hue++, 255, 255); // Light the selected LED in a near-white color.
  FastLED.show();
  delay(30); // Set the flow speed.
}
In this code, the `fadeToBlackBy` function continuously dims all LEDs, clearing trailing traces. Thus, a random LED is selected with `random16(NUM_LEDS)` and that LED is brightly lit. In short, `delay(30)` controls the flow speed of the effect. Lowering this value makes the stars "flow" faster—try it and see!
Components for DIY (Do It Yourself)
To summarize the software side: You set up a loop with libraries like FastLED. In this loop, while LEDs continuously dim, newly selected ones are brightened. Your eye perceives movement between the blinking lights. Furthermore, you are free to personalize the code by tweaking brightness, color, and delay values.
| Component | Entry Level (TL) | Mid Level (TL) | High Level (TL) | Note |
|---|---|---|---|---|
| WS2812B LED Strip (5m, 60/m) | 250 - 350 | 350 - 500 | 500+ | Waterproof (IP65) version makes a difference. |
| ESP32 Development Board | 80 - 120 | 120 - 200 | 200+ | Essential for wireless control. |
| 5V 10A Power Supply | 150 - 220 | 220 - 300 | 300+ | Quality is critical for safety. |
| Ready Control Board (QuinLED) | 300 - 450 | 450 - 700 | 700+ | Integrated power management, easy to use. |
Easy Solution with Ready Shooting Star Effect Sets
Short Answer: For DIY in 2026, I recommend WS2812B or SK6812 pixel LED strips and an ESP32 microcontroller. Furthermore, for those wanting ready sets, pre-programmed packages containing fiber optik guides and a controller save time and promise a flawless result.
Critical Physical Details for Shooting Star Effect Installation in 2026
The 2026 market caters to both DIY enthusiasts and those who prefer "plug-and-play." Indeed, you should make your choice based on your project's complexity and the time you can allocate. Also, never overlook quality and safety factors when budgeting.
Wiring and Power Management Tips
If you want control, you should purchase components individually and assemble them. In 2026, the most popular pixel LED models are WS2812B and SK6812 RGBW. SK6812 is tailor-made for those seeking a realistic star light tone because it provides cleaner white light. You can look at platforms like Trendyol to find these products and other electronic parts.
Mounting Techniques by Space (Ceiling, Wall, Pool)
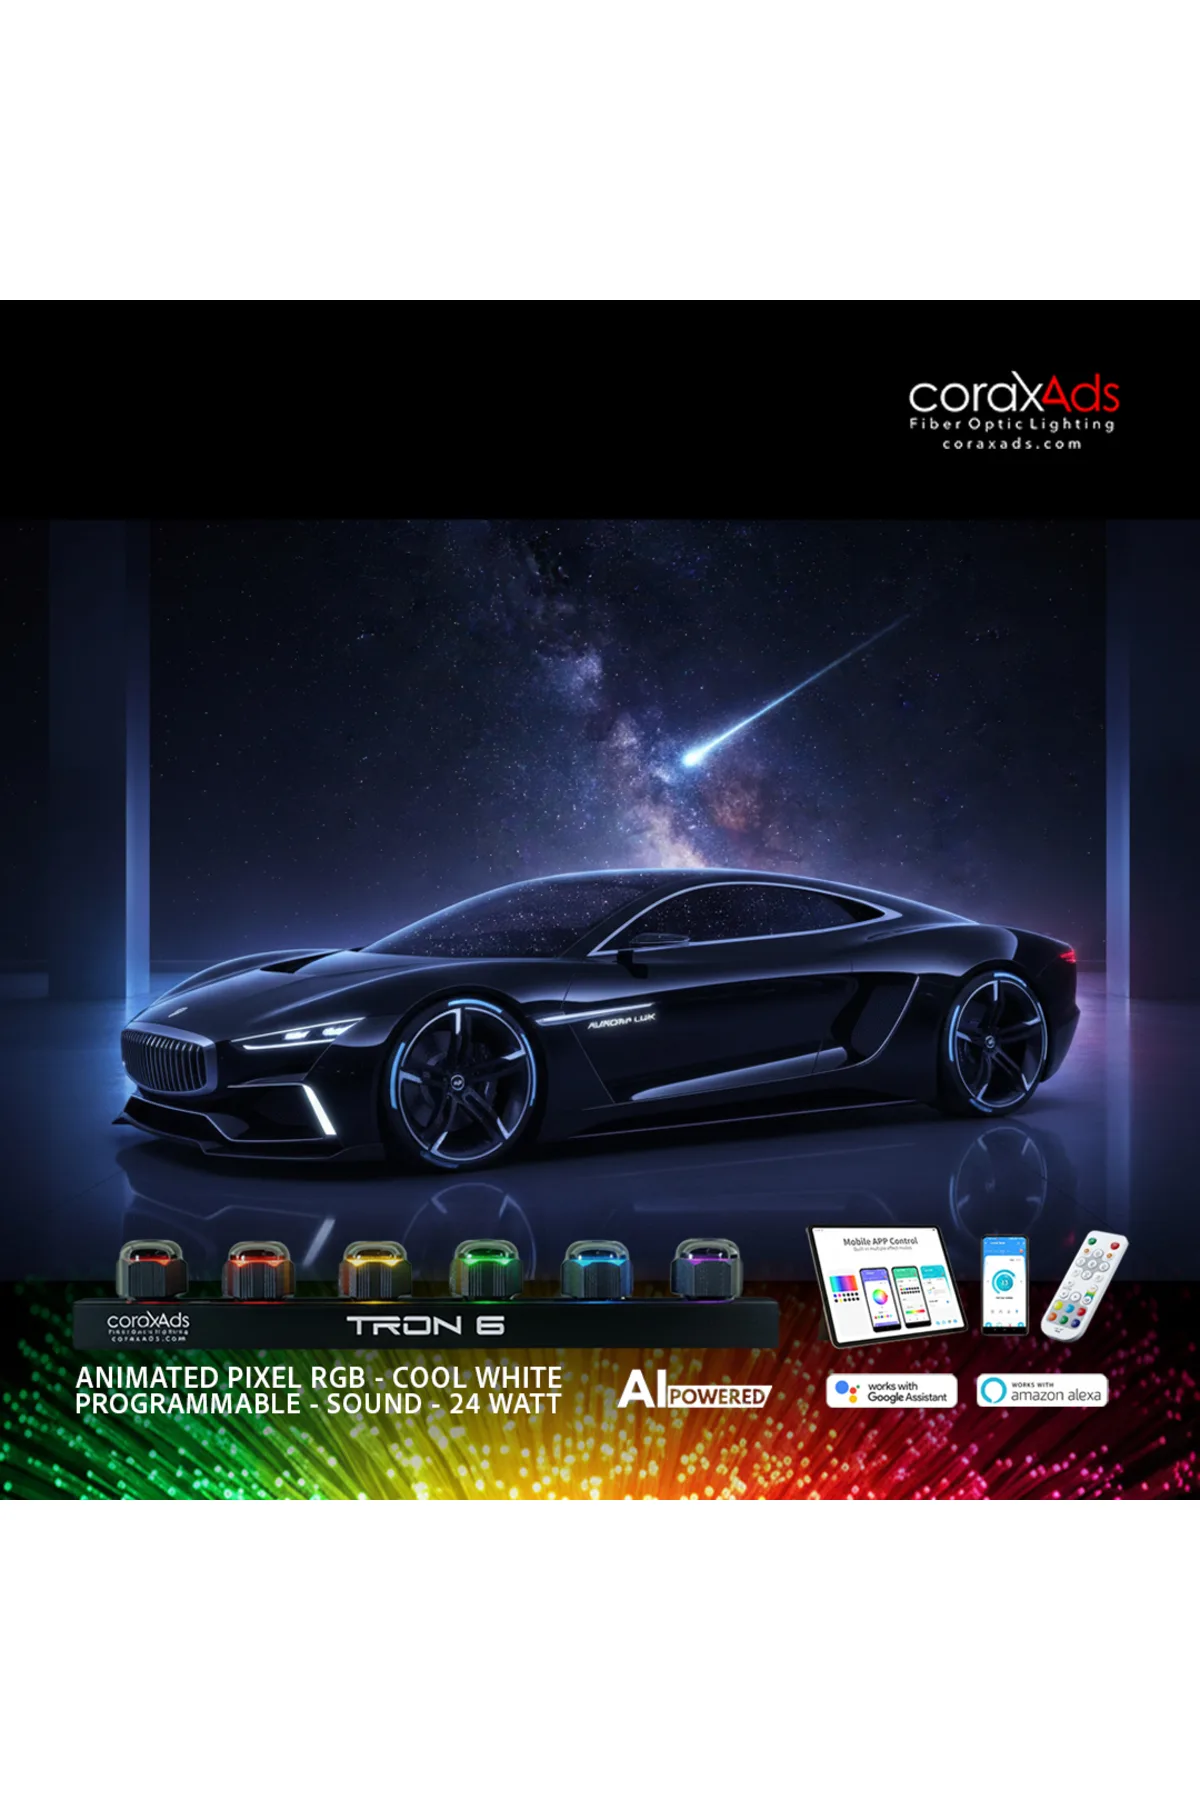
If you don't want to deal with programming and complex wiring, ready star ceiling set options are a great alternative. These sets usually include a pre-programmed controller, fiber optik guides, an LED light source, and all connection parts. For example, the "VIP Star Ceiling Fiber Optik Set" under CoraxAds is an easy-to-use package suitable for everything from minibus ceilings to home living rooms. All you need to do is complete the physical installation and plug it in.
Shooting Star Effect Varieties and 2026 Trends: Going Beyond

In summary: For DIY in 2026, WS2812B/SK6812 LEDs and ESP32 are recommended. For those who don't want to struggle with technical details, pre-programmed ready sets (for minibus, room ceiling) save time and offer a guaranteed result.
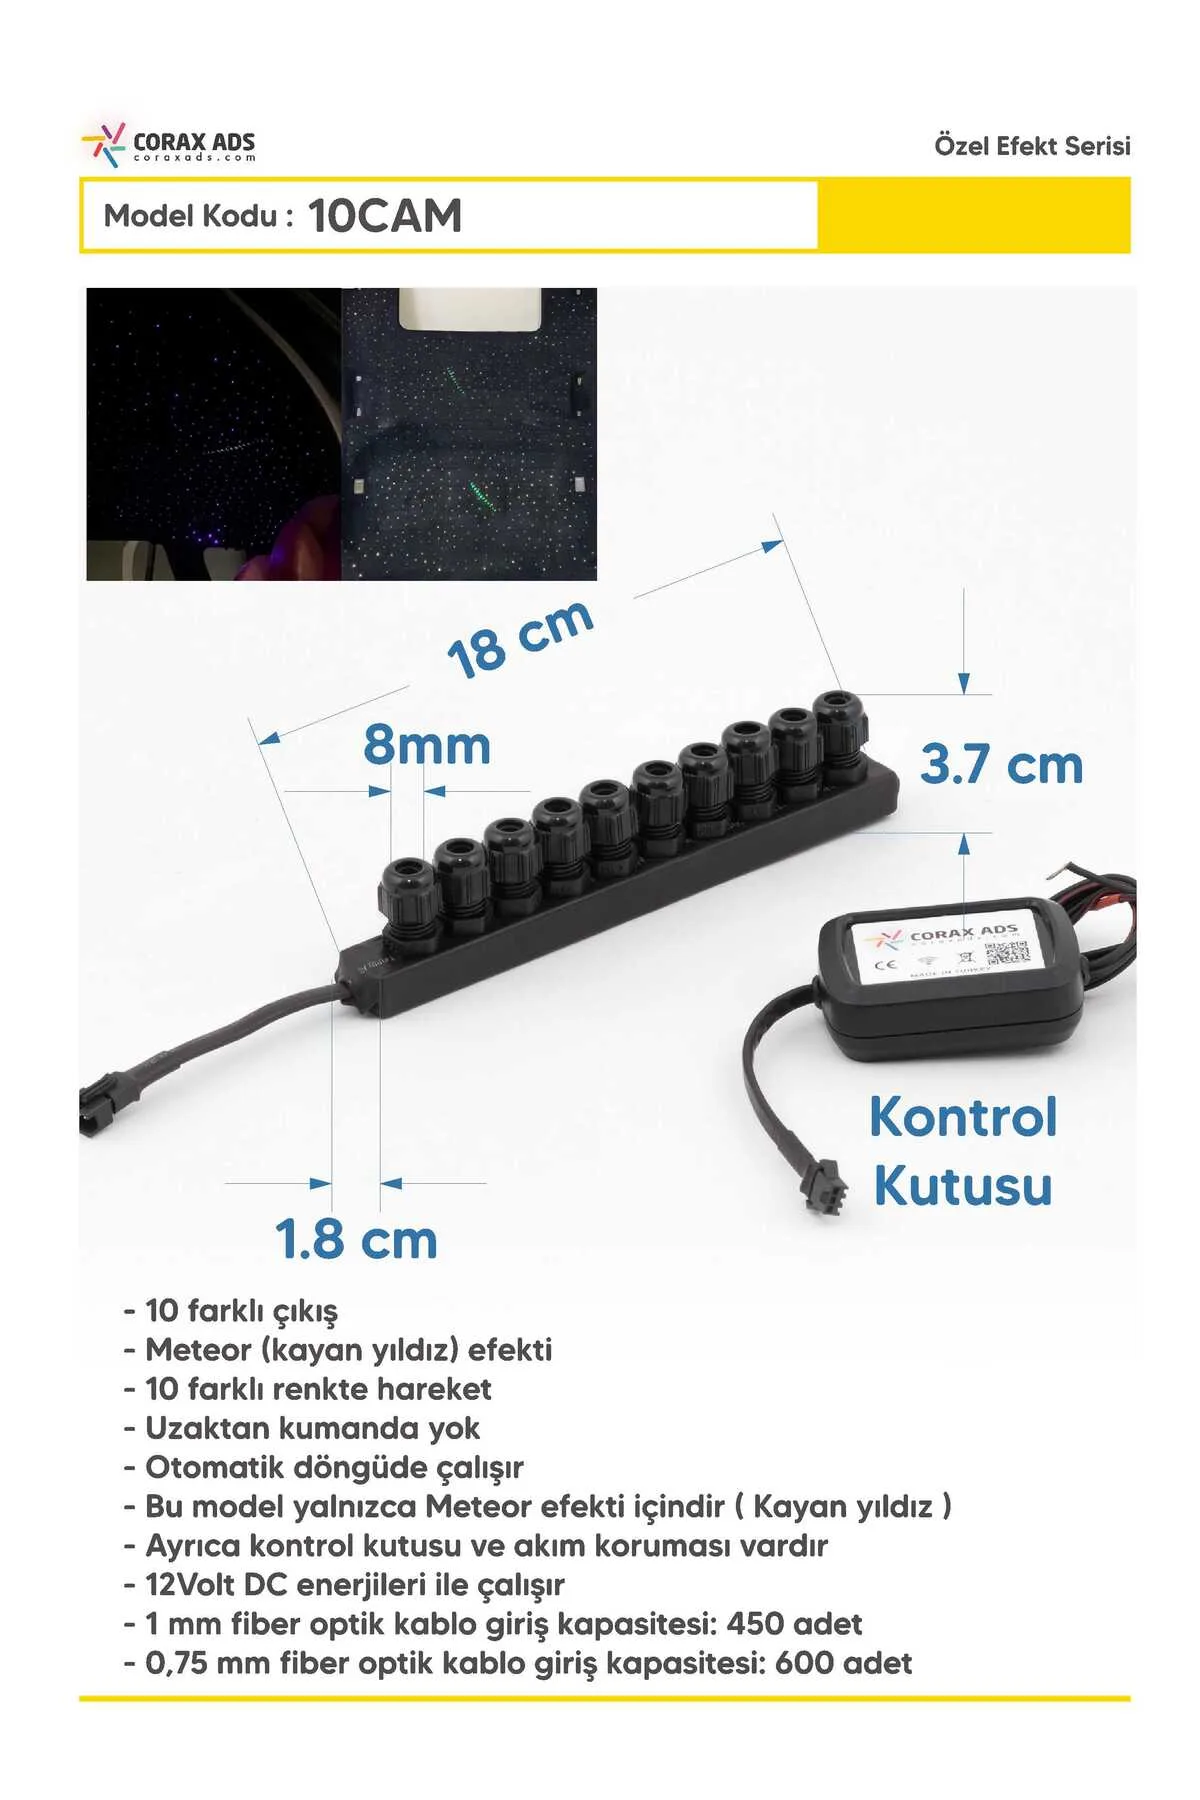
Meteor Shower and Color Transition Effects
Short Answer: The most crucial points in shooting star effect installation are using an adequate power supply, preventing voltage drop in wiring, and applying waterproofing or fiber optik distribution techniques suitable for the mounting environment (ceiling, wall, pool).
Smart Home Integration and Sound Reactive Modes
Even if the software is flawless, physical installation errors can ruin all the effort. Therefore, in 2026, there are two golden rules you must heed: Correct power distribution and clean mounting. In fact, these rules directly affect not only visual quality but also the system's longevity and safety.
How is the Shooting Star Effect Created with Pixel LED? Frequently Asked Questions (2026 FAQ)
What is the difference between pixel LED and classic fiber optik star ceiling?
Pixel LEDs, especially when lit white at full brightness, draw high current. A 5-meter strip can reach up to 18A. Therefore, your power supply must be sufficient, and you should power the strip from both ends. When calculating cable for a star ceiling, don't forget losses. Using direct soldering or thick-gauge cables instead of thin jumper cables prevents voltage drop.
How many meters of LED strip should I use for the shooting star effect?
Ceiling Applications: Instead of sticking the LED strip directly to the ceiling, place it in a distribution box or channel. If you are carrying light with fiber optik cables, the distribution of the fiber ends is crucial for a natural look. Aim for a random but homogeneous distribution.
Can I use ESP32 and Arduino in the same project?
Pool or Outdoor: Waterproof (IP67/IP68) pixel LED strips and waterproof connectors are mandatory here. Also, in a conductive environment like a pool, ensure the entire system's grounding and residual-current device are correctly installed. Don't leave any room for doubt.
The effect I made flows too fast or too slow. How can I adjust it?
In summary: Power supply capacity and wiring quality are the most important topics in installation. For ceiling applications, the distribution of fiber optik ends, and for outdoor and pool applications, waterproof housing and safety measures determine your project's lifespan.
For my project, is a ready set or DIY more economical?
Short Answer: The shooting star effect can be enriched with variations like meteor showers and color transitions. Among 2026 trends, smart home integration (Google Home, Alexa) and music-responsive sound reactive modes via WLED software stand out.
Conclusion and Summary
The shooting star effect can be developed with varieties like meteor showers, color transitions, and sound-activated modes. The trend in 2026 is shifting from static effects to interactive and smart scenarios. This way, your ability to personalize your light show also multiplies.
By developing the simple shooting star code, you can create a meteor effect that leaves a trail. How? After brightening the selected LED, light up a few following LEDs at lower brightness and then dim them. Also, by increasing the `hue` value in the `CHSV(hue++, 255, 255)` command, you can make the stars transition through colors as they shoot. Believe me, the visual spectacle is magnificent.
Thanks to the prevalence of WLED software in 2026, you can connect your shooting stars to your smart home ecosystem (Google Home, Alexa) and manage them with voice commands. Even, with WLED's "Sound Reactive" feature, you can make your LEDs vibrate to the rhythm of the music, making them sing a visual song. Perfect for parties or relaxation sessions.
Final word: You can produce meteor shower or color transition effects by modifying the basic code. The 2026 trend is creating dynamic light shows with smartphone and voice control via WLED, even music-responsive ones.
In a classic fiber optik system, light from a single LED light source is carried by hundreds of fiber cables. The light points are fixed, they blink but never "shoot." In a pixel LED system, however, each light point is an independent, color-changing, and programmable LED. This is essential for dynamic effects.
This is related to the intensity of the effect. 50-100 LEDs scattered on the ceiling at 1-2 meter intervals provide an impressive view. For example: A 5-meter long strip with 30 LEDs per meter (total 150 LEDs) is ideal for a medium-sized room. More densely packed LEDs (60/m) create a denser star field.
Yes, you can use it. In fact, while searching for the answer to how is the shooting star effect created with pixel LED, the software logic remains the same. The FastLED library supports both platforms. ESP32's additional advantage is its built-in Wi-Fi and Bluetooth for wireless control and the ability to run WLED software. Arduino is simpler and more conducive to learning.
The speed of the effect is adjusted with two basic parameters in your code: 1) The millisecond value in the `delay()` function (e.g., `delay(30)`). Increasing this value slows it down, decreasing it speeds it up. 2) The dimming rate in the `fadeToBlackBy()` function (e.g., 10). Increasing this value makes star trails disappear faster, sharpening the effect.
At first glance, DIY seems more affordable. However, you must also account for the time cost, the risk of making mistakes and burning components, and the need for soldering and programming knowledge. In 2026, ready set prices are quite competitive. If you want to learn and have full control, choose DIY. If you want a guaranteed, aesthetic result without wasting time, a ready set may be the more "economical" choice.
The answer to the question how is the shooting star effect created with pixel LED takes shape within the triangle of addressable LED technology, correct microcontroller programming, and careful physical installation. As we arrive in 2026, we see that both DIY tools and ready solutions have matured. Whether you tinker with Arduino codes to write your own effect or choose a ready set that installs with one click, bringing a sky into your home or vehicle is no longer a dream. Remember, the most beautiful effects emerge with patience and creative experimentation.
Time to take action! Start your glittering project by preparing your material list right away, or contact us to explore ready star ceiling set options suitable for your needs. The CoraxAds team is here for your custom solutions.