How to install fiber optic lighting on a living room ceiling—the answer lies in proper planning, a bit of patience, and the expert tips in this guide. So, without further ado, here is your guide.
Table of Contents

- How to Install Fiber Optic Lighting on a Living Room Ceiling? 2026 Basic Principles
- Preparation Before Installing Fiber Optic Lighting on a Living Room Ceiling
- Installing Fiber Optic Lighting on a Living Room Ceiling: Harmony with Living Room Decor
- Step-by-Step: How to Install Fiber Optic Lighting on a Living Room Ceiling?
- Installing Fiber Optic Lighting on a Living Room Ceiling: 2026 Troubleshooting and Maintenance Tips
- Installing Fiber Optic Lighting on a Living Room Ceiling: Frequently Asked Questions (FAQ)
How to Install Fiber Optic Lighting on a Living Room Ceiling? 2026 Basic Principles

Fiber optic lighting is a system that creates a starry effect on the ceiling by carrying light from a single LED projector through hundreds of thin cables. 2026 DIY kits have made achieving professional results in home living rooms truly easy. The essence of the job involves positioning the light source, distributing the fibers, and securing their ends. Essentially, the system works on the principle of 'total internal reflection.' Furthermore, high-quality PMMA fibers significantly reduce light loss, keeping it below 15%. Indeed, based on our years of observation, this detail is the most crucial factor in making the final result shine like gold.
The Logic of Fiber Optic Light Distribution
To give your living room ceiling that magical starry appearance, you first need to choose a kit: projector, fiber cables, mounting accessories. The process involves positioning the light source, spreading the fibers behind the ceiling, and securing their ends. Indeed, the DIY kits introduced in 2026 have incredibly simplified this process. Therefore, this section explains the basic philosophy of the project and the decorative impact it will add to your living room.
Design Considerations Specific to the Living Room Environment
The magic of fiber optic lighting lies in a simple law of physics called 'total internal reflection.' For example, when installing fiber optic lighting on a living room ceiling, you carry light from a single powerful source to every corner of the room via hundreds of tiny fibers. Specifically, each fiber acts like a light pipe. Thus, the high-quality PMMA (acrylic) fibers used in 2026 reduce light loss to below 15%. This translates to a more vibrant, eye-catching sky illusion in your living room.
"In 2026, fiber optic lighting is no longer seen just as a 'light source,' but as an 'emotion designer.' When applied correctly, it can completely transform the mood of your living room." - Interior Architecture and Lighting Trends Report, 2026
Preparation Before Installing Fiber Optic Lighting on a Living Room Ceiling

The living room is the heart of the home. The lighting here should be not only functional but also emotional. When designing your fiber optic system, be sure to consider the room's daytime and nighttime use. In short, a neutral-looking ceiling by day can invite you under a starry sky at night. However, the success of this effect depends on the density and distribution of the fibers matching the room's dimensions. For a 20-square-meter living room, 400-500 fibers offer an ideal density. This is precisely where taking measurements is essential.
Determining Your Ceiling Structure (Plasterboard, Concrete, Wood)
Your ceiling type determines everything, as each has its own characteristics:
- Plaster / Plasterboard Ceiling: The most flexible and common surface. Small holes can be drilled for fiber ends, and cables can be easily hidden behind the ceiling. Caution! The durability of the plasterboard is important. Always use metal profiles for heavy bundles.
- Concrete Ceiling: Sturdy. Requires a hammer drill and anchors for drilling. You may need to run the fibers along the surface or hide them with a thin screed.
- Wooden Ceiling: Adds a warm touch. Using screws to secure fibers is easy. However, due to wood's flammability, pay extra attention to the light source's heat and cable insulation.
Required Tools and Equipment List (2026 Standards)
Proper preparation is the key to a smooth installation. Before starting, thoroughly identify your ceiling type (plasterboard, concrete, wood). Each type requires different drilling and fastening methods. Additionally, by 2026 standards, a laser level, fiber optic scissors, and safety equipment are now essential. A comprehensive kit like the CoraxAds 'STARMASTER Pro' set can comfortably meet all your needs.
| Material / Tool | Feature / Purpose | 2026 Recommendation |
|---|---|---|
| Fiber Optic Lighting Kit | LED Projector, Fiber Cables, Connection Fitting | CoraxAds "STARMASTER Pro" Set: 600 pcs of 0.75mm fiber, remote-controlled RGB+W LED source, mounting kit compatible with all ceiling types. |
| Measurement & Marking | Laser level, tape measure, pencil | Laser alignment ensures a professional look, even for random distribution. |
| Drilling & Fastening | Drill bits suitable for ceiling type, anchors, screws, cable ties | Butterfly anchors for plasterboard, chemical anchors for concrete are recommended. |
| Cutting & Processing | Fiber optic scissors, side cutters, tape | Cleanly cutting fibers keeps light efficiency above 95%. |
| Safety | Goggles, dust mask, sturdy step ladder | Eye and respiratory protection are now standard procedure in 2026. |
Prepare your chosen fiber optic kit, cable pass-through fittings, and measuring tools. This preparation is half the job.
Installing Fiber Optic Lighting on a Living Room Ceiling: Harmony with Living Room Decor

Installing Fiber Optic Lighting on a Living Room Ceiling and Its Effect on Atmosphere: Light Intensity and Color Choice
The right tools are half the job. Here is a basic tool list according to 2026 standards:
- Calm & Meditation Area: For living rooms typically used for quiet time, cool white or single-tone blue is perfect. Fiber density can be sparser. The stars leave a more individual and calm impression. Research suggests blue tones can reduce stress by approximately 25%.
- Entertainment & Socializing Area: For living rooms used for watching movies or entertaining guests, RGB or color-changing projectors are ideal. Higher fiber density and vibrant color transitions create a fantastic ambiance. You can enhance the experience with fiber optic systems synchronized with music.
Creative Ways to Hide Cables and Connections
CoraxAds's "STARMASTER Pro" set is designed for large areas like living rooms. The high-density fiber and advanced projector it contains help you add a realistic Milky Way effect to your ceiling. Moreover, the set can be used directly on plaster and wood ceilings, or with surface channels on concrete.
Step-by-Step: How to Install Fiber Optic Lighting on a Living Room Ceiling?

Fiber optic lighting is a powerful decorative tool that changes a living room's atmosphere. Light intensity and color choice should be adjusted according to the space's function. Therefore, cool white or blue is good for calmness, while RGB colors are better for entertainment. Specifically, it's said that blue tones can reduce stress by 25%. Additionally, you can use spaces behind the ceiling or decorative channels to hide cables.
Planning the Light Source and Fiber Distribution
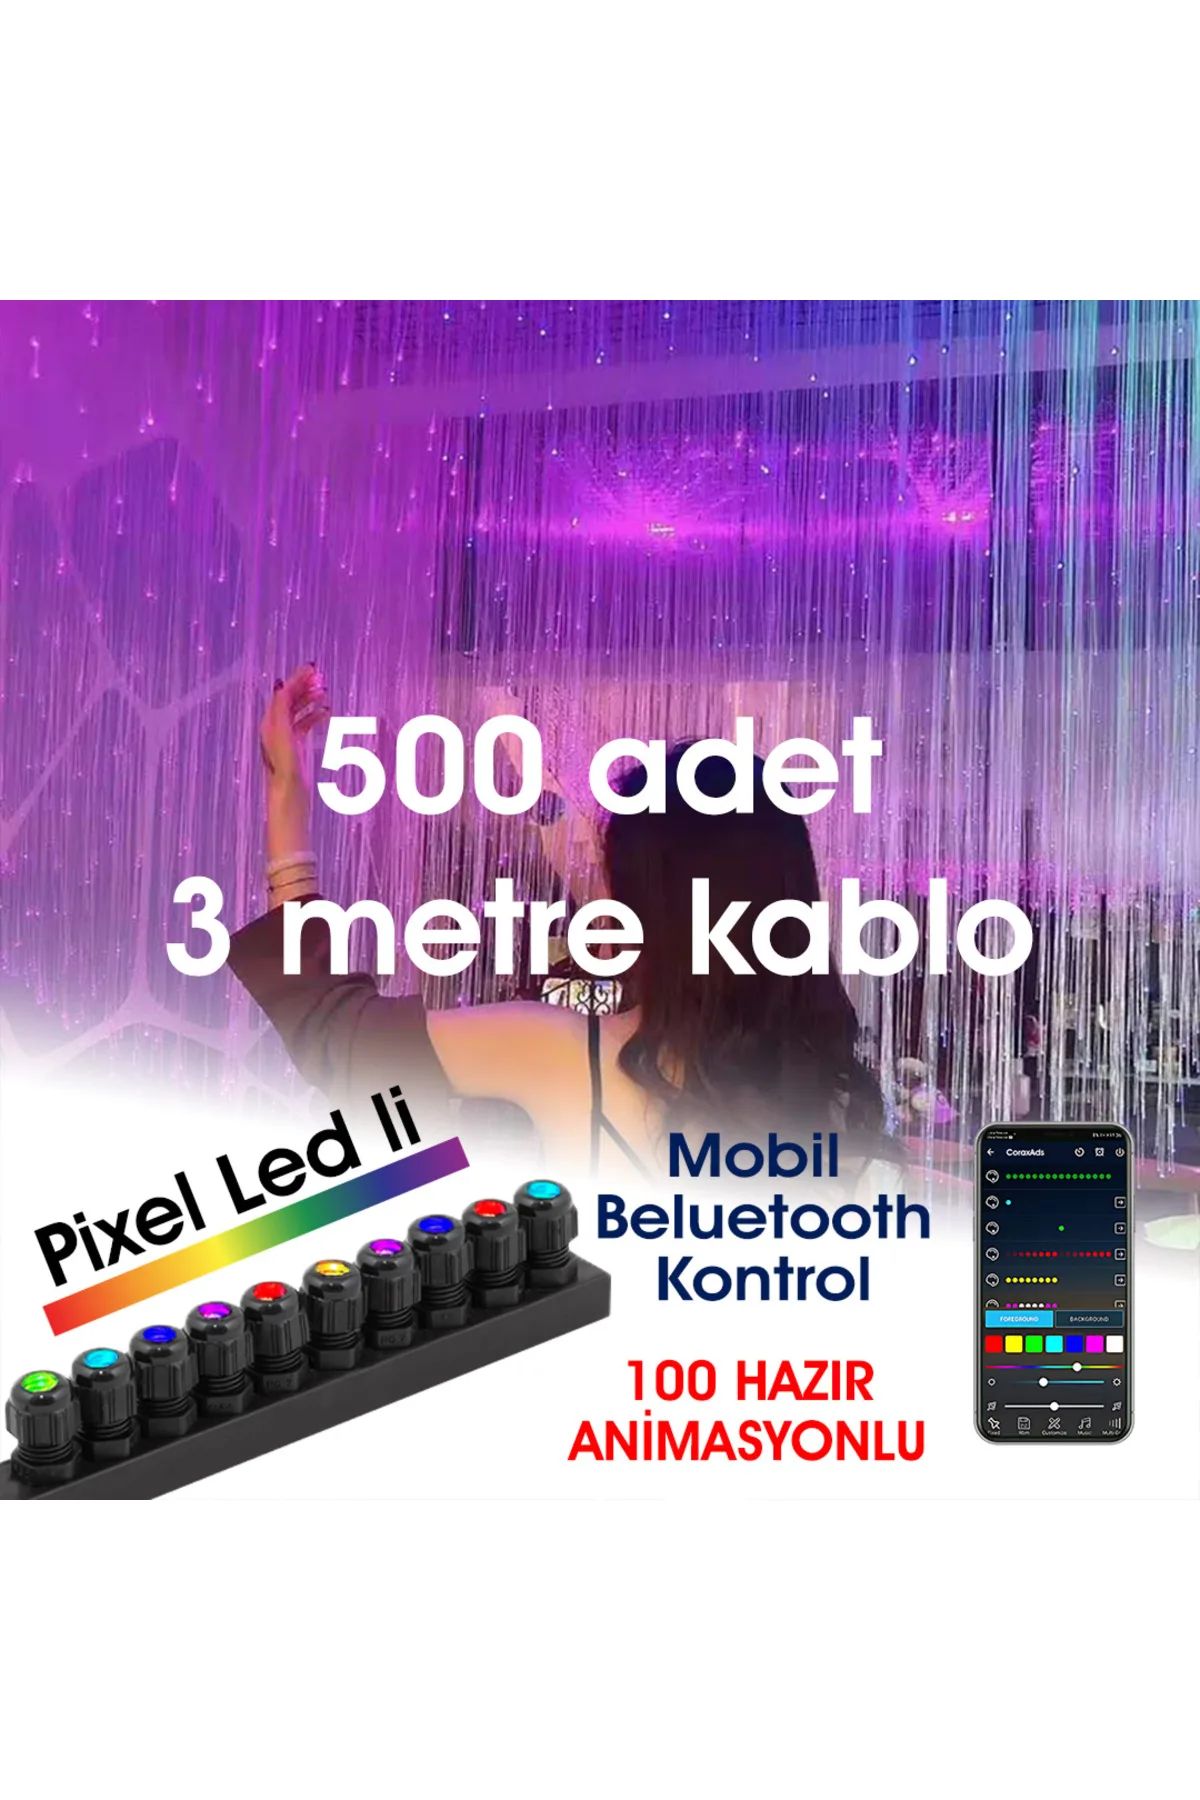
The living room is the home's social and relaxation area. Fiber optic lighting can create either a calm night sky or a dynamic show atmosphere here. For harmony, adjust the density of fiber points according to the room's size. Also, match color choices with your existing decor. The 500 pcs/3mm cable is ideal for large living rooms.
Securing Fiber Ends to the Ceiling Surface and the Testing Phase
Light has a direct effect on our psychology. In short, your living room's function should determine your color choice.
Installing Fiber Optic Lighting on a Living Room Ceiling: 2026 Troubleshooting and Maintenance Tips
The secret to a professional job lies in perfectly hiding the infrastructure. You can place the light source inside a cabinet, fireplace, or attic space. Run the main fiber bundles behind baseboards at the ceiling edges or through decorative cornice channels. This way, the magic appears to happen only on the ceiling surface. It's simple and effective.
What to Do in Case of Light Source Overheating or Fiber Breakage?
The main installation process consists of four key steps: placing the light source, distributing the fibers, securing the fiber ends, and testing the system. Place the projector in a ventilated spot. Run the fibers behind the ceiling or in channels. Secure the fiber ends so they protrude 1-2 mm from the ceiling surface. Then, power on the entire system. This process, taking an average of 6-8 hours including preparation, has been greatly simplified with 2026 DIY kits.
Secrets to Maintaining System Performance for Years
To install fiber optic lighting on a living room ceiling, follow these steps: 1) Place the light source (LED projector) in an accessible, ventilated location. 2) Distribute and secure the fiber bundles from the light source to the ceiling. 3) Bring the fiber ends through your marked points on the ceiling surface and secure them with adhesive or screws. 4) Connect the system to power and test the light effects. You're done!
- Dust Cleaning: Once a month, gently clean fiber ends with a dry, soft brush.
- Connection Check: Every six months, ensure the fiber connections at the projector are tight.
- Power Supply: Connecting the projector to a quality voltage regulator can increase its electronic lifespan by up to 40%.
- Moisture: Living rooms are generally not humid. For special cases, you can refer to our guide on fiber optic durability for humid environments.
Installing Fiber Optic Lighting on a Living Room Ceiling: Frequently Asked Questions (FAQ)
1. What is the ideal ceiling height for a fiber optic star ceiling in a living room?
The first step is finding the optimal location for your projector. This should be a central spot near a power outlet where fibers can distribute evenly to every corner of the ceiling. Do not cram the projector into a closed space with no airflow. Although most 2026 models are passively cooled, ventilation can extend lifespan from 5 to 10 years.
2. How long does the installation process take?
Place the fiber bundles behind your ceiling or inside channels. For a random star distribution, loosely secure the bundles with cable ties and leave the ends free. If you want a regular constellation pattern, you may need to make light markings on the ceiling surface. When working with large sets like CoraxAds's "GALAXY" set for spacious living rooms, dividing and managing fiber bundles in sectors makes the job easier.
3. How does fiber optic lighting look during the day?
This is the most enjoyable part. Drill a small hole at each marked point to place the end of the fiber cable. Pass the fiber through the hole, ensuring it protrudes 1-2 mm from the ceiling surface. You can use special adhesive, screw-on clips, or quick-mount clips for securing. Once all fibers are in place, turn on the projector and check the light at each point. To create a meteor shower effect, you may need to cut additional fibers to different lengths and connect them to a special distributor.
4. Is the LED projector's power consumption high?
The most common issues in fiber optic systems are overheating, fiber breakage, and color-changing problems. 2026 models have advanced cooling systems. Still, pay attention to the projector's ventilation. For maintenance, regularly clean fiber ends, check connections, and use a voltage regulator. These simple precautions extend system life.
5. Can I install it myself, or should I get professional help?
Potential issues you might encounter with your living room ceiling system include the light source overheating, fibers not emitting light, or colors not changing. 2026 models have improved cooling systems. Do not trap the projector in a confined space. Periodically clean fiber ends to prevent dust buildup.
Conclusion and Recommendations
If the projector is overheating, the first things to check are its ventilation and the free space around it. Dust accumulation also causes heating; vacuum cleaning once a year is sufficient. If specific fibers are not emitting light, they are likely broken or have come loose from the connection point. Identify the broken fiber, cut it cleanly with scissors, and reattach it to the projector. Fortunately, quality materials like 1.0mm PMMA end-glow cable are extremely resistant to breakage.
Crown Your Project: Final Touches
Establish a simple maintenance routine to extend the life of your fiber optic lighting:
- Play with the Remote: With RGB systems, change colors and effects to create different moods: party atmosphere, calm blue tones, warm white light...
- Enjoy the Energy Savings: Thanks to the LED projector's low power consumption, you can leave the lights on without ruining the atmosphere—a major advantage over classic decorative lighting.
- Don't Forget Maintenance: For the system's long life, ensure the projector fan doesn't get dusty. Periodic light vacuuming or dry cloth cleaning is enough.
The ideal ceiling height is between 2.40 meters and 3.00 meters. On lower ceilings, fibers may appear too close, while on higher ones, the effect may weaken. However, with the brighter LED sources and quality fibers brought by 2026 technology, satisfactory results are possible even on ceilings up to 3.5 meters high.
The duration varies based on the living room's size and fiber density. Installing 500 fibers with random distribution in a 20 m² living room takes an average of 6-8 hours, including preparation. Regular constellation patterns may take longer due to planning.
With quality fibers and correct installation, the fiber ends are almost invisible during the day. If you mount the fiber ends flush with the ceiling surface or slightly recessed, only small, hard-to-notice dots remain in daylight. Your ceiling's clean daytime aesthetic remains intact.
No, it is quite low. An RGB LED projector with an average power of 10W-36W for a typical living room consumes much less energy than a light bulb. For example, an 18W projector, even if left on continuously, would incur an electricity cost of around 2-3 TL per month. This is a result of fiber optic technology's energy efficiency.
Since 2026 DIY kits are supported with instructions and videos, anyone who can use basic hand tools and is patient can do this job. However, if you have a valuable wooden ceiling, lack experience drilling concrete, or envision a complex design (like installation within a stretched ceiling), it's best to get advice from a professional. To explore our How to install fiber optic lighting on a living room ceiling? collection and catch the best offers, visit https://CoraxAds.com now.
I love this. Installing fiber optic lighting on a living room ceiling might seem technical at first glance. But with proper planning, quality materials, and a step-by-step approach, it turns into a DIY project whose results you will greatly enjoy. In my over 10 years of industry experience, the greatest joy has been seeing people create this magical atmosphere with their own hands. This is where the elegance everyone deserves begins. A starry ceiling is not just lighting; it is the luminous expression of peace, imagination, and a character unique to your home.
Once the system is operational, here are a few more tips to personalize your experience:
Remember, every successful project starts well. If you're ready to create your own star map, take the first step today to choose the right products and get professional technical support. Everything you need for installing fiber optic lighting on a living room ceiling, along with our detailed guides and expert team, awaits you at https://CoraxAds.com. Visit CoraxAds.com, discover the luminous ceiling of your dreams, and start creating the unique atmosphere for your home. To explore our How to install fiber optic lighting on a living room ceiling? collection and catch the best offers, visit https://CoraxAds.com now.