
Soundproofing a home gym for noisy exercise is the process of reducing the impact and airborne noise your training creates so it doesn't disturb your household or your neighbors. This guide explains why gym noise travels through houses, how to choose the right floor, wall, door, and ventilation treatments, and what a practical project costs in the United States.
- A 5/8-inch sheet of Type X drywall adds roughly 2.5 pounds per square foot to a wall, which increases the mass that airborne sound must pass through.
- Rubber gym mats sold in the U.S. are commonly available in 3/8-inch and 3/4-inch thicknesses, and thicker mats provide more impact absorption.
- Resilient channels lose their isolation benefit if a drywall screw contacts the wooden stud behind the channel, a condition known as a short circuit.
Table of Contents
- Why You Should Soundproof a Noisy Home Gym
- Airborne Noise vs. Impact Noise: Understand What You're Blocking
- Start with the Floor: Rubber Mats and Acoustic Underlayment
- Add Mass to Walls and Ceilings with Vinyl and Extra Drywall
- Seal Doors, Windows, Outlets, and Ducts
- Use Decoupling for the Best Structure-Borne Isolation
- Plan Ventilation, Sound Absorption, and Lighting
- Set a Realistic Home Gym Soundproofing Budget
- Frequently Asked Questions
For a broader look at home gym design, our blog covers everything from flooring to ventilation.
Why You Should Soundproof a Noisy Home Gym
A noisy home gym needs soundproofing because exercise generates both impact shock and loud sound that can travel through floors, walls, and doors and irritate the people around you.
A home gym is convenient, but a heavy workout is not quiet. Dropping a loaded barbell on a hard floor sends vibration through the framing, and a loud playlist can be heard in rooms across the house. If you live with family or in an attached home, that noise affects other people every day. It also limits your own freedom—you may hesitate to train early or late when you know how much sound you are creating.
Soundproofing solves the problem by treating the paths noise uses. The result is a gym where you can focus on your lifts without worrying about waking a child or angering a neighbor. It can also prevent complaints in apartments and condo buildings. The best approach is layered rather than relying on a single miracle material. This guide walks you through each of those layers, from the floor up.
Airborne Noise vs. Impact Noise: Understand What You're Blocking
You have to treat airborne and impact noise differently because airborne sound travels as pressure waves through the air while impact sound travels as vibration through the structure.
Airborne noise includes music, your voice, grunting, and equipment clanging. It moves through the air and tries to pass through walls, ceilings, doors, and windows. Impact noise comes from feet stomping, dumbbells hitting the floor, or a barbell being dropped. That energy enters the structure itself and vibrates through floors, joists, and studs. Because the two types move differently, different soundproofing materials are needed for each.
For example, foam panels can reduce airborne echo inside the room, but they do little to stop impact vibration. Conversely, a thick floor mat stops some shock but won't keep loud music from passing through the wall. A functional home gym soundproofing plan works on both noise types at once. Identify your main sources first. If you drop weights, start with the floor. If you blast music, focus on mass and seals.
Start with the Floor: Rubber Mats and Acoustic Underlayment
The best floor treatment for a noisy home gym is a thick rubber mat placed over an acoustic underlayment, because this combination cushions impacts and decouples the floor from the structure.
Your floor is the first point of impact, so it needs the most attention. For a basic home gym, 3/8-inch rubber mats work well for bodyweight training and light dumbbell work. For deadlifts and Olympic lifting, use mats that are at least 3/4-inch thick. Rubber handles shock far better than carpet or vinyl, and it protects your subfloor from damage at the same time.
A mat alone is only part of the solution. Under the mat, add a dedicated acoustic underlayment made of recycled rubber or cork. This layer creates a floating floor, which means the finished surface is not in direct contact with the concrete or wooden subfloor. The slight flexibility breaks the path that vibrations use to reach the rest of the house. This simple upgrade is often the biggest improvement in feel and noise reduction.
If your gym sits on a second floor, be even more careful with weight and shock. Avoid placing heavy racks or treadmills directly over a joist that is shared with a bedroom underneath. Spread the load with plywood and choose underlayment rated for impact insulation. In concrete garages, use thick interlocking rubber tiles over the slab; cracks between tiles should be tight to stop noise from leaking.
Add Mass to Walls and Ceilings with Vinyl and Extra Drywall
Adding mass to walls and ceilings is the most effective way to block airborne sound, using materials like mass-loaded vinyl and an extra layer of drywall.
Airborne sound behaves differently when it meets a heavy surface. Thin walls vibrate and let sound pass into the next room. Extra mass slows that movement and stops most of the energy. The simplest project is to install mass-loaded vinyl (MLV) over the existing drywall, then add another layer of drywall on top. MLV is sold in rolls and is dense enough to add a meaningful sound break without taking up much floor space.
You can also skip the vinyl and just add a second layer of 5/8-inch drywall. For better performance, place a thin layer of acoustic caulk or damping compound between the two panels. This detail reduces the chance of vibration transferring from one sheet to the other. Every wall that faces a neighbor, hallway, or bedroom should receive this treatment. Don't forget the ceiling in a basement gym—it is essentially a large wall that separates you from the rooms above.
Painters and DIYers can complete a mass layer in one weekend, but it helps to remove trim carefully and replace it afterward. The extra weight must be supported by the framing, so confirm your studs can carry the load. Add the mass to the side of the wall that faces the gym to prevent sound from entering the assembly early. The finish material is usually drywall, but dense plywood is another option if you plan to mount equipment.
Seal Doors, Windows, Outlets, and Ducts
Soundproofing a gym room requires sealing every air gap around doors, windows, outlets, and ducts, because even a small crack allows sound to escape.
Noise will find the easiest escape route. A door with a large gap underneath can carry more sound than a heavily insulated wall. Replace hollow-core doors with solid-core versions, then install weatherstripping on all four edges and a door sweep at the bottom. Automatic door bottoms are also popular; they drop a rubber seal when the door closes. Check the strike plate and hinge areas for gaps and use acoustical sealant where you see movement.
Windows in home gyms are desirable for light, but they are weak spots. If you can't replace them with double-glazed units, insert a removable window plug made of rigid foam covered in fabric or plywood. Simply sealing the frame with caulk and adding a heavy curtain cuts some losses. Electrical outlets and switches are less obvious holes; you can fill the space behind them with putty pads, which are small pieces of flexible mass available at acoustic supply shops.
Ducts and vents deserve attention because central HVAC systems connect rooms. Sound from your gym can travel through the metal duct into a bedroom return. Trade off airflow and sound by using insulated flexible ducts or adding sound attenuators. A simpler method is to place the supply and return grilles on opposite sides of the room and keep them away from neighboring walls. After the main paths are sealed, take a flashlight into the room at night and look for light leaking around any opening.
Use Decoupling for the Best Structure-Borne Isolation
Decoupling with resilient channels or clips is the strongest structural soundproofing technique because it stops vibration from traveling from one side of a wall or floor to the other.
In an ordinary wall, drywall is screwed directly to wooden studs. When sound hits the drywall, the vibration moves through the studs to the opposite side. Decoupling breaks that hard connection. Resilient channels are thin metal strips installed across the studs; the drywall is then attached to the channels. This creates a spring-like barrier that doesn't pass vibration easily. A similar system uses rubber sound clips mounted to the studs with horizontal hat channels.
The same principle works for floors and ceilings. A floating floor is built on rubber isolation mounts instead of being nailed to the joists. A ceiling can be isolated with clips and channels, leaving a small air gap. Whichever system you choose, install it with precision. A single screw that touches the stud, called a short circuit, can bypass the isolation and ruin the entire system. Always follow the manufacturer's spacing and installation guide.
Decoupling is not the project for every budget, but it is the best approach if your gym shares a wall with a neighbor or sits directly above living areas. A room-within-a-room design can achieve very high isolation by building a new metal or wood frame with acoustic insulation inside. That frame is then lined with resilient channels and double drywall. Before you start, check your local building codes and consider the loss of floor space.
Plan Ventilation, Sound Absorption, and Lighting
A successful soundproofed gym also needs quiet ventilation, acoustic panels to absorb echo, and safe lighting so the room remains comfortable and usable after you seal it.
When you seal a room for sound, you can trap heat, sweat, and humidity. Proper ventilation is therefore part of any realistic gym conversion. An exhaust fan in the wall or ceiling can move stale air, but it creates a new noise route. Choose a quiet inline fan and run it through insulated ductwork. If the area is small, a commercial-grade fan with a backdraft damper can balance air movement and sound isolation.
Acoustic panels and bass traps do not block sound from leaving the room, but they reduce the echo that makes a gym feel loud. When sound energy bounces around less, less energy escapes through small openings. Cover the walls with fabric-wrapped fiberglass panels, and add thick panels in corners for low-frequency noise. This treatment improves clarity and sometimes lets people speak at lower volumes during sets.
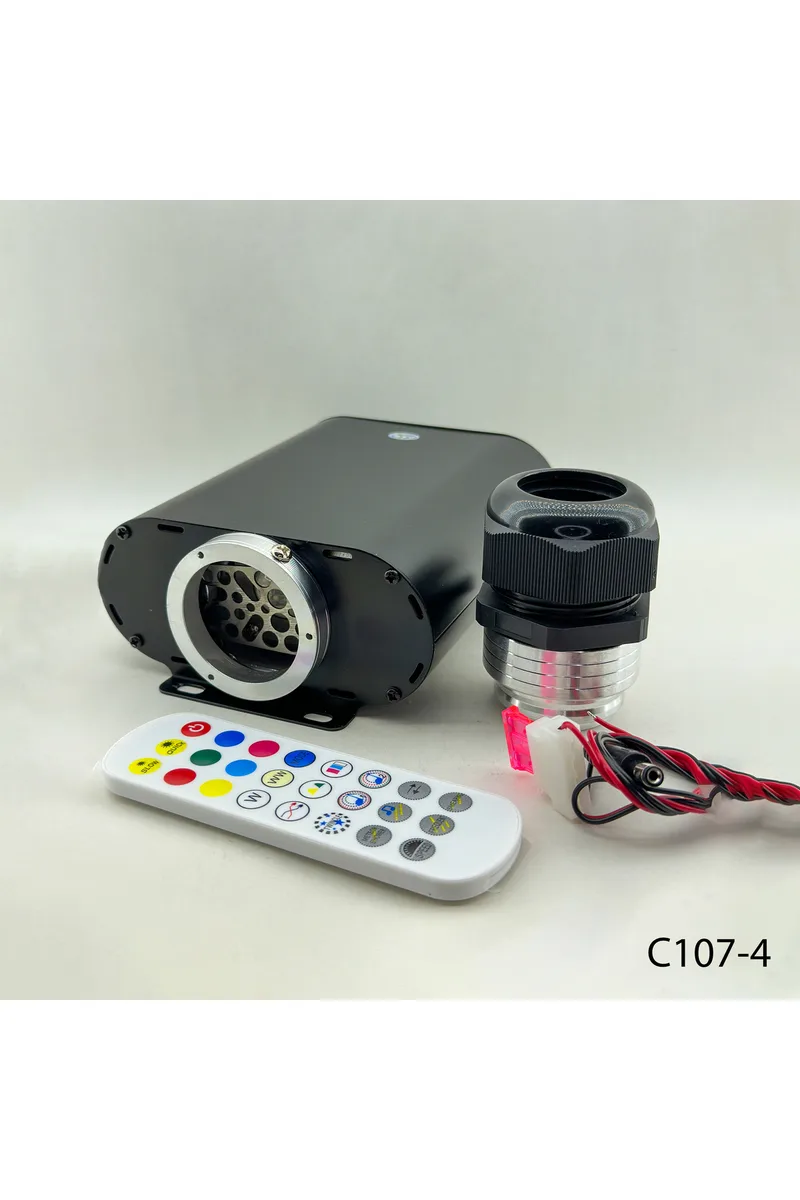
Lighting matters for safety and atmosphere. Bright, glare-free lights help you see depth and avoid missed reps. After your acoustic layers are complete, you can also choose from the light source options available from Corax Ads to create a motivating color scheme. For more home gym ideas, visit our blog. Just remember that lighting and decor are the final layer, not the main fix.
Set a Realistic Home Gym Soundproofing Budget
A complete home gym soundproofing project can cost anywhere from a few hundred dollars to several thousand dollars, depending on the size of the room and the level of isolation.
It helps to separate your plan into phases. If your budget is small, begin with 3/4-inch rubber mats, a solid-core door, and a door seal kit. That package solves a large part of the impact and airborne problem for under $500 in many U.S. homes. Mid-range projects add a second layer of drywall, mass-loaded vinyl, and an acoustic underlayment. For a typical 12-by-15-foot basement gym, expect the material cost to be between $1,200 and $2,500.
High-end work, such as a fully decoupled ceiling, floating floor, and custom HVAC silencer, often starts around $4,000 and can go higher with labor. In shared-wall townhouses, this level is sometimes the only reliable way to keep neighbors comfortable. Local contractors may charge between $50 and $100 per hour, and drywall finishing adds extra time. Always get quotes and ask for acoustic treatment experience before signing.
Whatever you spend, keep the long-term value in mind. A finished gym in a basement or garage can increase the usability of your home and save you money on membership fees over the years. If you train consistently, the cost is small compared with the benefit of never canceling a workout because of complaints. Build slowly if you need to, and add each layer as your budget allows.
If you're also upgrading your gym's lighting, compare light source options for energy efficiency and lifespan to maximize your long-term savings.
Frequently Asked Questions
Does foam acoustic paneling actually stop sound in a home gym?
Acoustic foam reduces echo inside the room, but it does not add enough mass to stop sound from traveling to neighbors. Use foam for a cleaner-sounding training space and pair it with floor, wall, and door treatments for true soundproofing.
Will rubber mats soundproof a home gym by themselves?
Rubber mats absorb impact shock and reduce some vibration, especially if you add a flexible underlayment under them. Rubber alone does not block airborne sound well, so most gyms still need wall mass and air sealing.
Should I soundproof the ceiling of a basement home gym?
You should soundproof the ceiling if there are living spaces above. Adding a second layer of drywall with acoustic caulk and installing resilient channels can noticeably reduce the noise that reaches the upper floors.
How much does it cost to soundproof a typical American home gym?
A DIY package with rubber mats and door seals costs a few hundred dollars, while a complete wall, floor, and ceiling project can range from $1,500 to $4,000 or more. Contracted work can be two to three times higher.
What is the best floor option for dropping weights quietly?
For dropping barbells, use a lifting platform with a 3/4-inch rubber surface over plywood, placed on an acoustic underlayment. This combination spreads impact energy and prevents contact with the subfloor.
Can I make my home gym quieter without permanently changing the walls?
Yes, you can add rubber mats, door weatherstripping, moving blankets or acoustic panels, and rearrange equipment so it sits away from shared walls. These are renter-friendly and removable, but they will not be as effective as permanent mass and decoupling.