
A campervan starlight headliner kit is a bundle of fibre optic strands, a light source and the small fixings needed to turn a van ceiling into a night sky. It works the same way in a Transit, a Sprinter or a self-built panel van: drill a pattern, feed the fibres through, hide the projector behind the trim, then dim the whole thing down for the night. The difference between a kit that looks factory-fitted and one that looks like a craft project is nearly always the planning, not the parts.

- A starlight headliner carries light rather than electricity into the ceiling, so the only powered component is the projector box hidden behind the trim.
- Multi-output pixel sources light each fibre independently, while single-output RGBW modules drive the whole bundle in a single colour at a time.
- Fibres held only by the friction of the drilled hole work loose over time, and a dot of flexible adhesive at the back of each hole keeps the pattern intact.
- Insulation and vapour barriers have to go in before the fibre panel, otherwise moisture gets trapped against the strands.
Video summary of this article
Watch this video on its own page
Video transcript
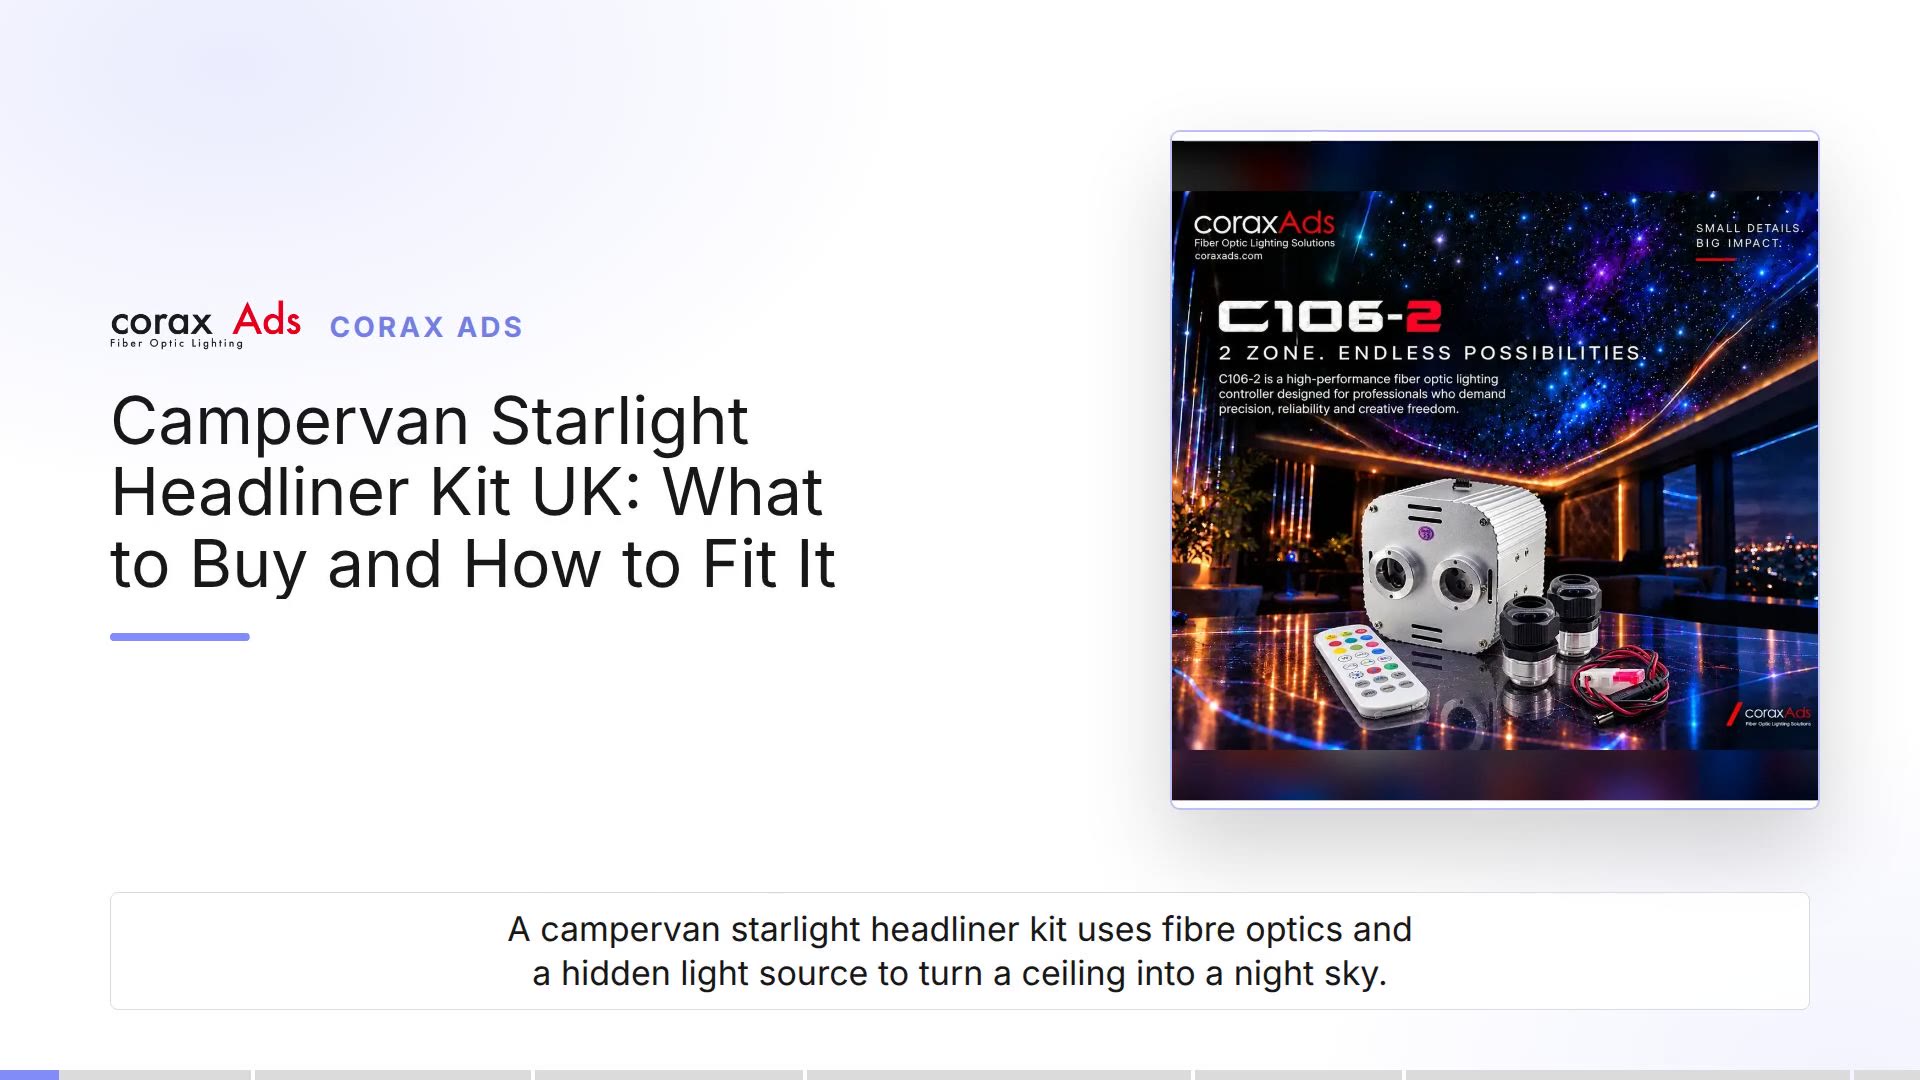
A campervan starlight headliner kit uses fibre optics and a hidden light source to turn a ceiling into a night sky.
A kit pairs fibre strands with a light source, connectors and fixings. Measure the full run from the projector to the furthest corner.
A single output module lights the whole bundle in one colour at a time. A pixel unit pulses individual stars for a twinkle effect.
Mark the pattern on paper and check it in daylight and dark. Keep fibres clear of ribs, wiring, vents and hinge lines. Leave a small service loop at hinges so fibres do not take tension.
Drop the headliner so you can drill clean holes and add backing. Glue each fibre with flexible adhesive, then test before refitting.
Run the projector from a fused twelve volt leisure circuit with its own switch. Seal the projector and fit insulation before the star panel. Price follows fibre count, source type and control, not van size.
More details are in the full article.
Table of Contents
- What actually comes in a campervan starlight headliner kit
- Single output or pixel twinkle: choosing the right light source
- Planning the star pattern around ribs, roof beds and pop-tops
- Fitting the harness without wrecking the headliner
- Power, damp and insulation in a British van
- What drives the price of a starlight kit
- Frequently Asked Questions
What actually comes in a campervan starlight headliner kit
A kit pairs a cut bundle of thin fibre optic strands with the light source that drives them, plus the connectors and fixings that hold the pattern in place.
A starlight headliner is a ceiling covered in hundreds of tiny points of light, made by feeding thin fibre strands through the panel and lighting them from one hidden source. Nothing glows at the ceiling itself. The light travels up the fibres from a small projector box tucked behind the trim.
A typical kit holds three things: the fibre bundle, the light source, and the small parts that tie them together. Strands run from the projector through a sleeve, then fan out across the panel. Connectors, heat shrink and a drill guide are the bits people forget until the van is already in pieces on the driveway.
Harness length is the number that catches van owners out. A long wheelbase with a rear projector box needs more slack than the panel size suggests, and a pop-top adds another stretch of routing. Measure the full run from the box to the furthest corner, not just the flat ceiling.
Single output or pixel twinkle: choosing the right light source
Choose a single-output RGBW module for calm colour washes and a multi-output pixel unit if you want individual stars that flicker and chase.
Two families of light source cover almost every van build. A single-output RGBW module lights the whole bundle in one colour at a time, so the ceiling shifts from warm white to amber to deep blue as a single piece. It is quiet, predictable and easy to wire into a 12V circuit.
Multi-output pixel modules address each star separately. A twinkle source lets individual fibres pulse instead of moving together, which is the effect most people picture when they think of a luxury car roof. A single RGBW twinkle light source can still drive a whole bundle, which keeps the wiring run short and the job inside one evening.
Brightness matters more in a small space than people expect. A van ceiling sits close to your head, so stars read brighter there than in a room. Pick a source you can dim confidently at the low end, because full output in a small cabin is rarely what you want at night.
Planning the star pattern around ribs, roof beds and pop-tops
Mark the pattern on paper before you drill, keeping every fibre clear of roof ribs, wiring runs and the moving parts of a pop-top or sliding bed.
Start with paper, not a drill. Tape a template to the headliner and stand back with both doors open so you see the pattern in daylight and in the dark. Even spacing looks orderly; clustered stars look like a galaxy. Both work, so decide before the first hole rather than after the twentieth.
Every van roof has structure you cannot see from below: ribs, wiring, roof vents, the frame of a lifting roof, the track of a sliding bed. A fibre that kinks against a rib will dim or snap. Keep a clear margin around anything structural and run the harness along the edge of the panel.
If the van has a roof bed or a pop-top, never cross a hinge line with a tight strand. A small service loop of slack at the hinge stops the fibres taking tension when the roof goes up. That one habit saves more installations than any other piece of advice.
Fitting the harness without wrecking the headliner
Drop the headliner if you can, because drilling upwards into a fitted fabric panel rarely gives a clean hole or a fibre that sits flat.
Working from below with the panel in place is possible, but not kind. Drilling upwards into fabric with nothing behind it usually ends in a ragged hole and a strand that refuses to sit straight. Dropping the panel gives you a clean surface, proper backing and room to heat shrink every entry point.
Glue matters more than most first-timers expect. Fibres are held by the friction of the hole plus a dot of adhesive at the back. Skip the adhesive and the strands creep down over a few thousand miles of road vibration. Use something that stays slightly flexible rather than a glue that sets hard and cracks.
Test before you refit. Power the source, dim it, cycle the colours and look for dark fibres in the bundle. Replacing one strand after the trim is back in place is a far worse afternoon than checking the panel on the bench. The step-by-step star ceiling installation page is worth reading before you cut anything, because the order of work matters more than the pattern itself.
Power, damp and insulation in a British van
A starlight source runs happily from a 12V leisure circuit, but the kit only lasts if you seal the projector and fit the insulation before the stars go in.
Most UK conversions run 12V leisure circuits, so the projector usually taps the same feed as the interior lights. Fuse it properly and switch it separately, so the stars can stay off while the cab lights are on. Draw is low enough that a healthy leisure battery will barely notice.
Damp is the real enemy here. Condensation forms on cold metal and drips onto trim, and a fibre entry point that is not sealed becomes a water path straight into the ceiling. Seal the projector box, keep it off the floor, and let the panel breathe.
Insulation and lining go in before the stars, never after. A vapour barrier sitting on top of the fibres traps moisture against them all winter. Get the lining right first, then treat the starlight panel as the final decorative layer of the build.
What drives the price of a starlight kit
Price follows fibre count, source type and how much control the set offers, not the size of the van it goes into.
A calm single-colour bundle sits at one end of the range; a pixel twinkle set with a full controller and more strands sits at the other. Ask what is in the box rather than judging by the listing photo, which usually shows the finished ceiling and none of the parts.
Harness quality deserves a question too. Thin strands are easier to route but more easily damaged, while heavier cable takes more abuse and needs bigger holes through the panel. Match the fibre to the headliner you have. Our campervan range groups the sets we send out most often for van conversions, so you can compare harness lengths before ordering.
If you want to see how the finished effect behaves in a fixed room before committing a van roof to it, our walkthrough of a fibre optic star ceiling covers the same materials and the same layout logic.
Frequently Asked Questions
Will a starlight headliner kit fit a Tesla?
The fibre and source setup is the same, because a roof panel is a roof panel. The difference is access. Model 3 and Model Y headliners come down in sections and the glass roof pushes the projector lower and further back, so measure the run carefully and keep every strand clear of the curtain airbag routes along the roof edge.
Can I fit one myself over a weekend?
Usually, yes, if the headliner comes out cleanly. Most first-timers spend a full day on drilling and fibre work, then a few more hours refitting trim. Vans with pop-tops or roof beds take longer because the routing has to flex with the roof.
Do the stars need mains power?
No. The fibres carry light, not electricity, so there is no voltage in the ceiling itself. The only powered part is the projector box hidden behind the trim, and that runs from the van's 12V circuit.
Will a starlight headliner fail an MOT?
Interior lighting is not part of the test, so the stars themselves are not an issue. Keep the pattern away from the windscreen and out of the driver's eyeline at night, and make sure nothing obscures your view of the road.
Where can I buy a kit and ask about harness length?
We build sets at our workshop in Korkutreis, Çankaya, Ankara, and ship to UK customers. Call +90-537-606-5228 Monday to Friday between 09:00 and 18:00, or Saturday 09:00 to 15:00, with your panel measurements and we will confirm what you need.