-
 CoraxADS
 -
 OPTİK AYDINLATMAKONUSUNDAHER ŞEY
 -
 Corax Ads
Led Lighting
NEW GENERATION
FIBER OPTIC
LIGHTING
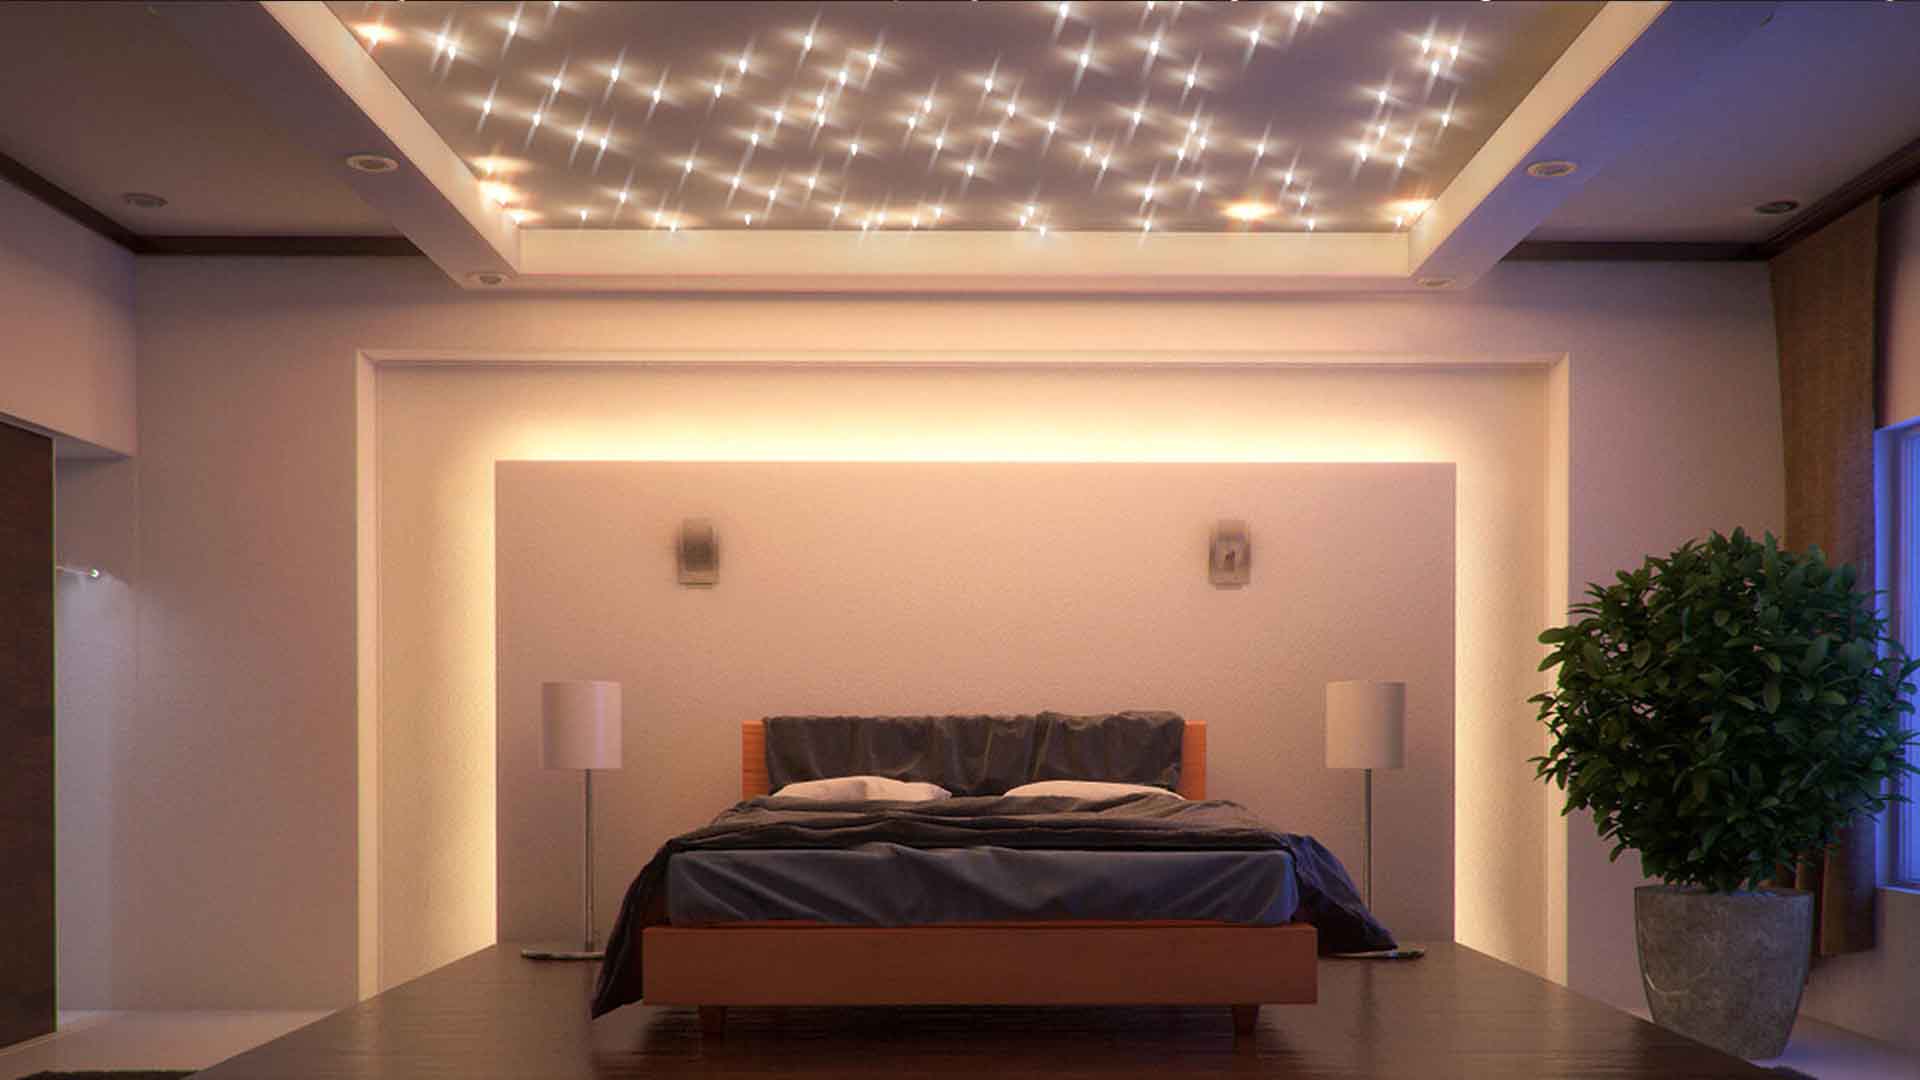
Fiber optic ceiling lighting installation
Installing fiber optic ceiling lights can be a bit challenging, but with the right tools and some knowledge, it can certainly be done. The first thing you need to do is choose a location for your lights. This will depend on the size of your room and the amount of light you want to create. Once you've chosen a location, you'll need to gather your tools. These will typically include a drill, saw, and various other tools depending on the type of installation you're doing. Next, you'll need to measure and mark the area where you'll be working. This will involve measuring the distance between the lights and marking the exact location for each light. Once your lights are marked, you'll need to start drilling holes for the fiber optic cables. This will typically involve drilling holes slightly larger than the cables themselves to ensure they fit snugly into place. Once the holes are drilled, you'll need to install the fiber optic cables. This will involve threading the cables through the holes and securing them in place. Once the cables are in place, you'll need to connect them to the light source. This will typically involve attaching a connector to the end of each cable and then plugging the connector into the light source. Finally, you'll need to test your lights to make sure they're working properly. This will typically involve turning the lights on and checking to make sure they're producing the desired amount of light. If everything looks good, you're all set! Your new fiber optic ceiling lights are now installed and ready to use. When it comes to fiber optic ceiling light installation,CoraxAds is the best solution in the industry. Their products are high-quality, easy to install, and offer a wide range of design options. Additionally, CoraxAds provides professional support and training to ensure a successful installation. With CoraxAds, you can be confident that your fiber optic lighting project will be a success.
APPLICATIONS
APPLICATIONS
APPLICATIONS
FOR YOUR PROJECT
